

Christmas Tree Mesh Ribbon Decorating
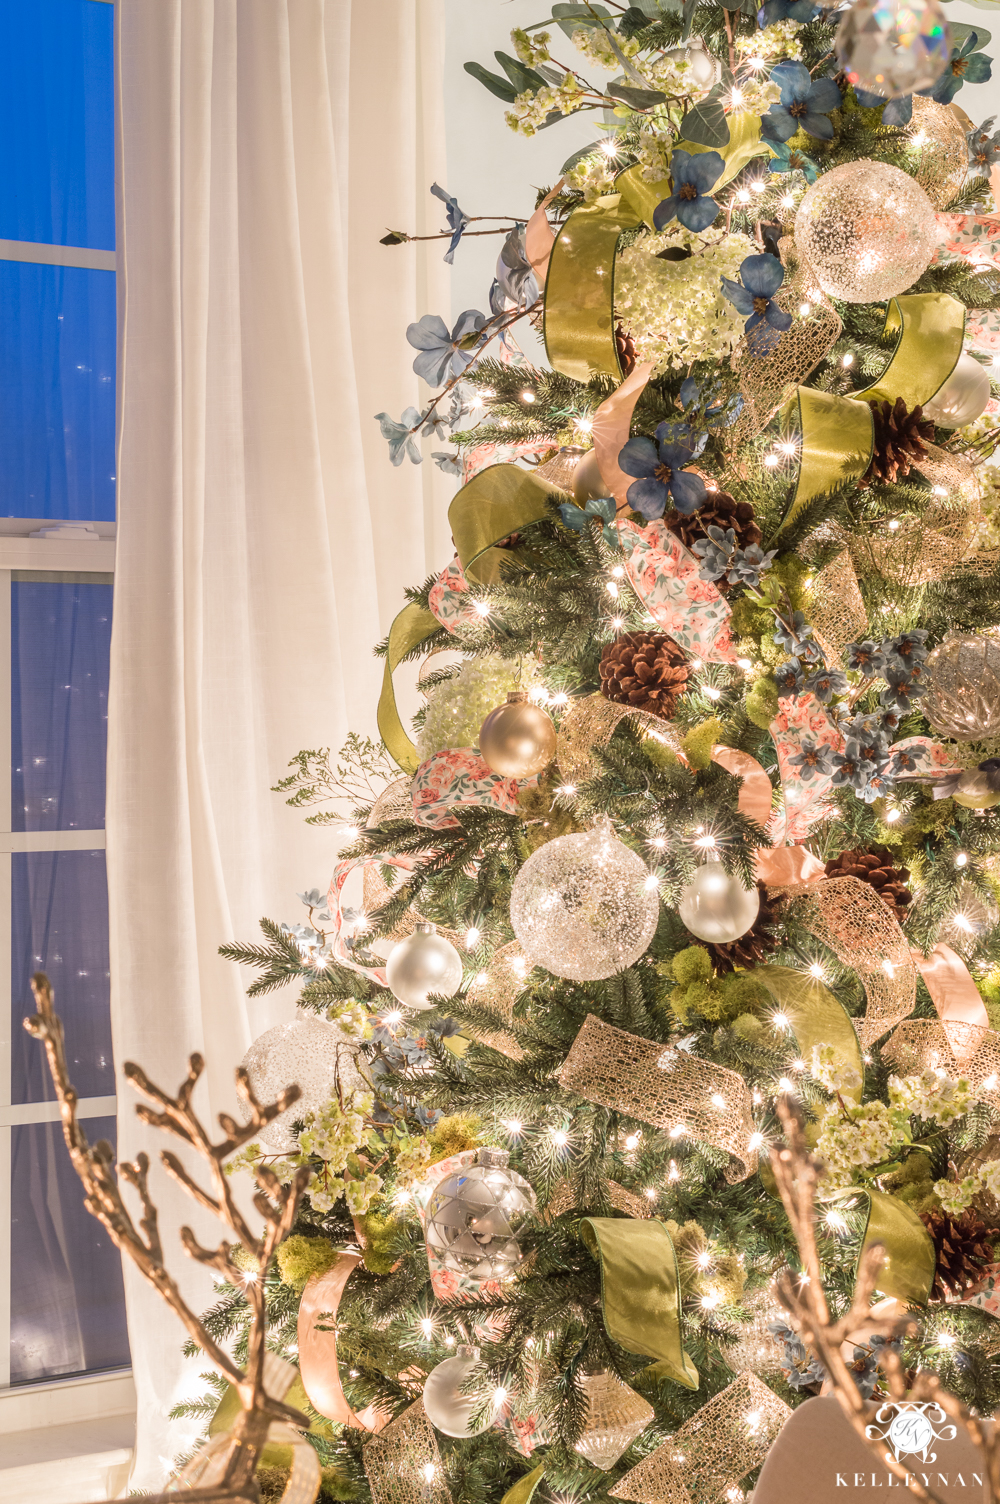
"How do you get your Christmas tree ribbon to do that?" is without a doubt, the number one question I receive during the holiday season. Today, sharing my secrets and how to decorate a Christmas tree with ribbon, in a step-by-step tutorial. More specifically, how I'm able to add ribbon to a Christmas tree by wrapping and tucking it to get that tufted, random look that fills out the tree. I used a few methods over the years before deciding on one Christmas tree ribbon technique that I use most often. Using a dining room Christmas tree, I documented the entire process from start to finish to show exactly how I go from a bare tree, to a tree that is filled with ornaments, picks, unexpected touches, and of course, ribbon! Pin this Christmas tree decorating tutorial to refer back to when you're ready to start decorating and adding ribbon to your own Christmas tree. Below, I'm going to show how to take your tree from out-of-the-box-naked to looking something like this…
*Posts on KelleyNan.com may contain affiliate links. Click HERE for full disclosure*
You can find a recent video with step by step instruction of how to put ribbon on a Christmas tree here:
HOW TO DECORATE A CHRISTMAS TREE WITH RIBBON
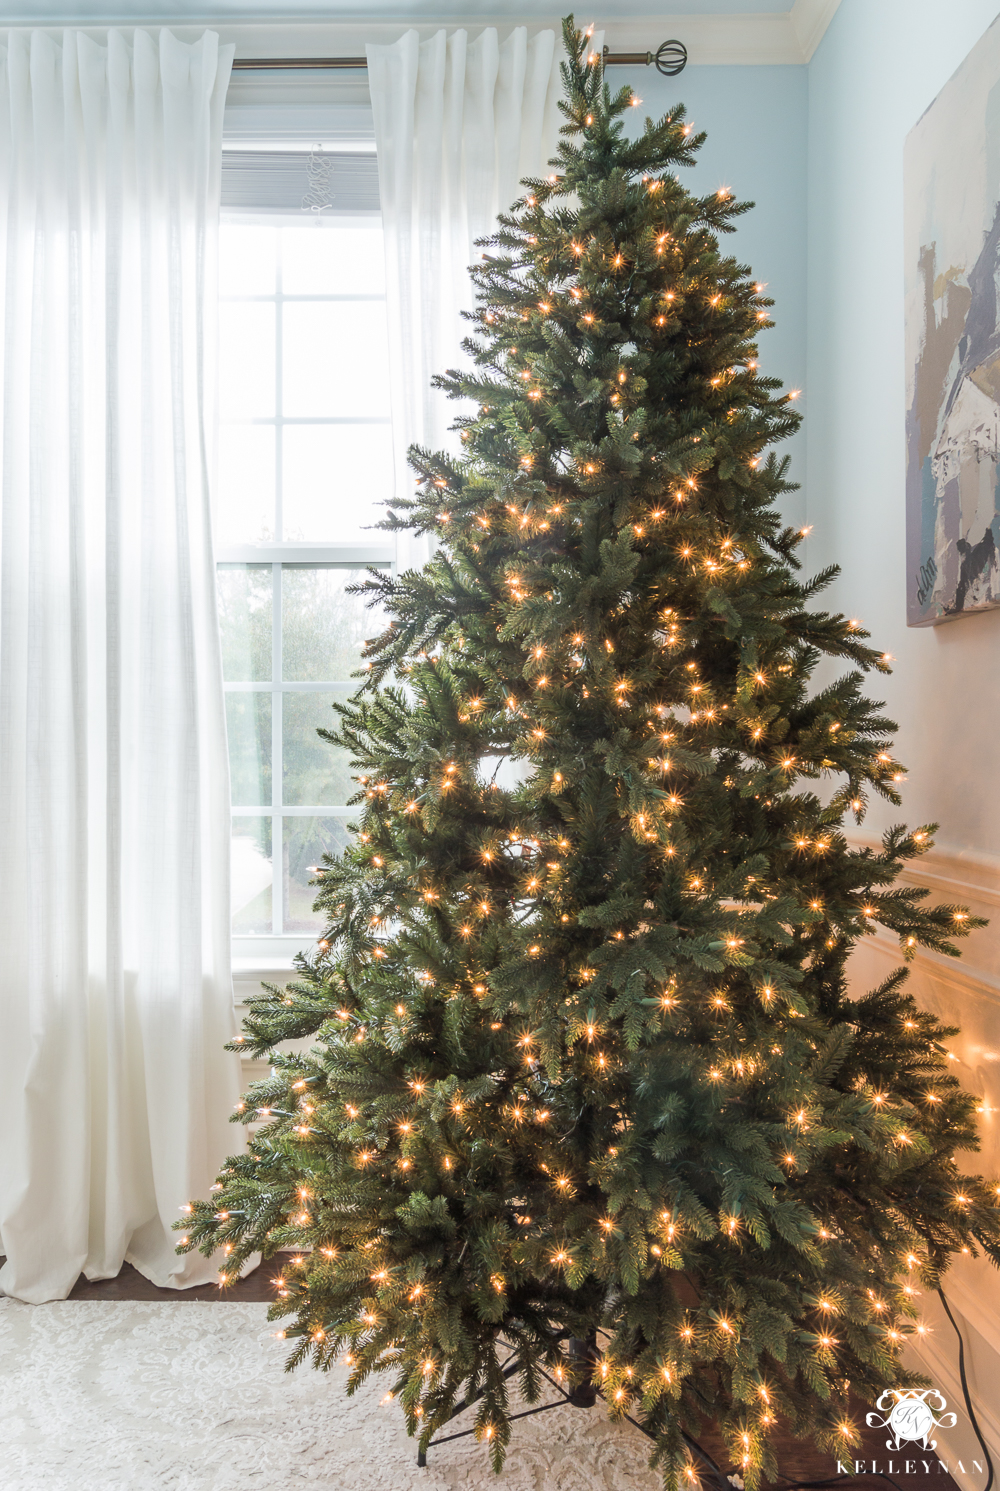
STEP 1: FLUFF YOUR TREE
Fluffing the tree is by far, my least favorite part of the tree decorating process. But, the type of tree you have makes a huge difference. For example- in our great room, we have a 9′ with all wire branches. But, in the dining room, we have a 7′ with a mixture of wire branches and more realistic branches that hold their shape well (you can see the latest version of the tree HERE). I love them both but the dining room tree takes a fraction of the time to fluff and prep. When you're fluffing, don't neglect the inside branches. And, don't just fluff the branches; if they are wire, pull them apart. Of course, if you have a real tree, you can skip this part 😉
STEP 2: CUT & TUCK THAT CHRISTMAS TREE RIBBON
If you search online, you will probably see a big split on this but I always start with the ribbon. I can always add a little more at the end if needed but using Christmas tree ribbon first gives a good base and starting point. Something else you may see is that people tend to use the entire spool of ribbon as one long piece, wrapping and weaving until the ribbon is gone. If I cascade ribbon, I will use longer strips but 95% of the time, I use this method. I typically use ribbon in various sizes from 2″ to 4″ in width, with wired edges. Ribbon that is "meshier" works the best for sticking to piney branches. My favorite places to shop in-store for ribbon are Costco, At Home, Hobby Lobby, and HomeGoods. Costco has wide ribbon with 50 yards on the spool for $9.99, so that's a good place to start ;). As far as how much? I don't really have an answer. But, I use a ton. And, I use more with trees with gaps. You can always purchase and take back what you don't use.
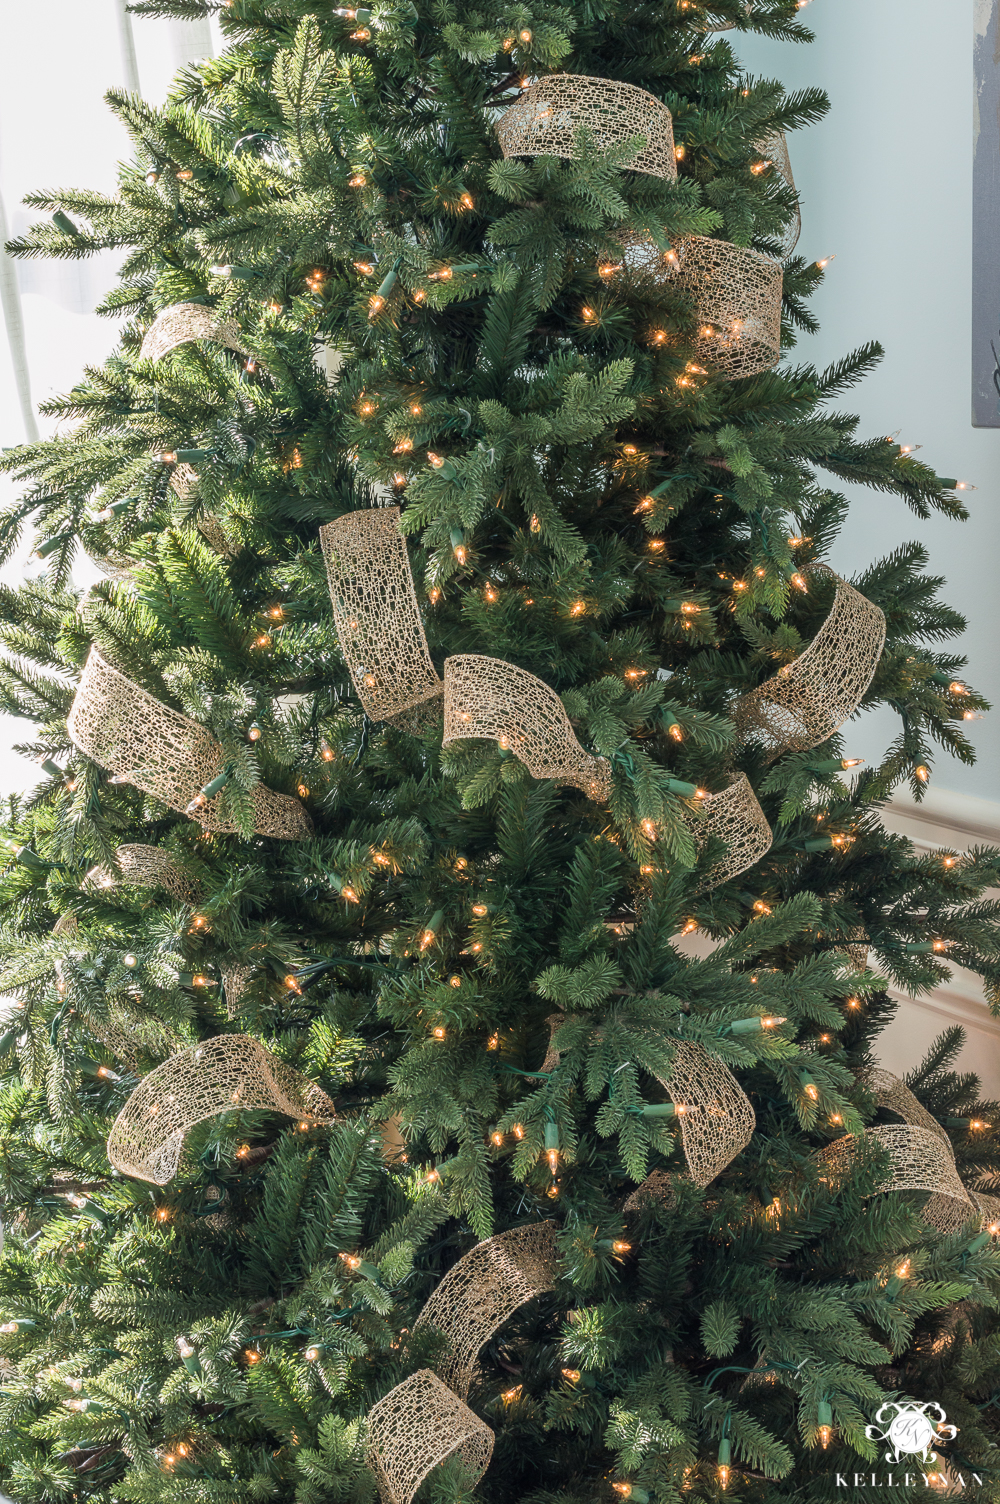
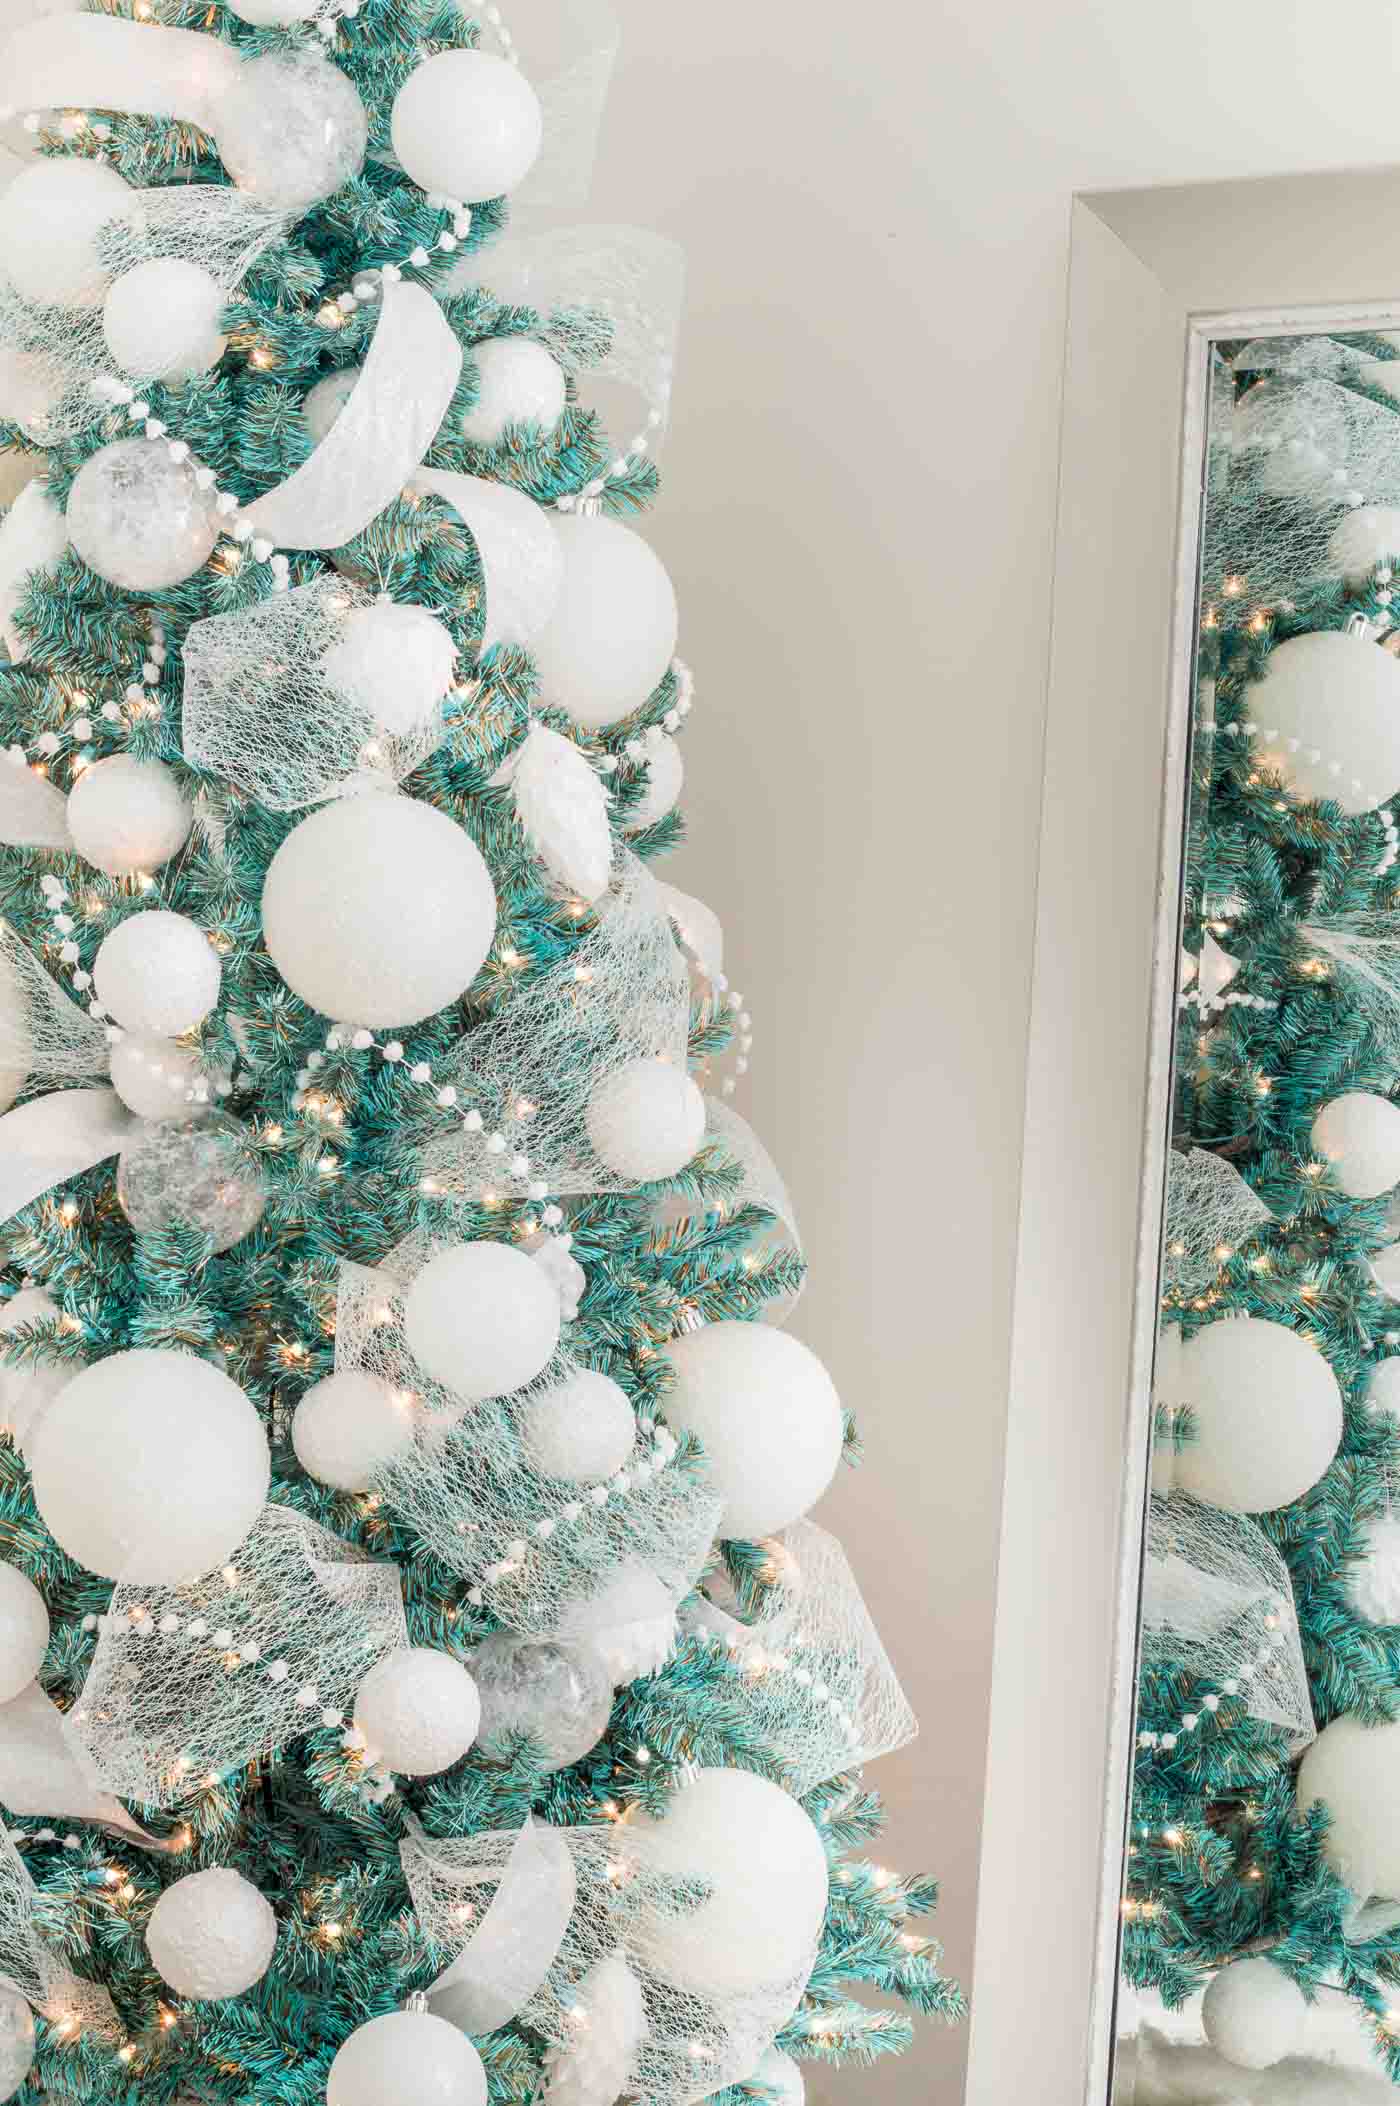
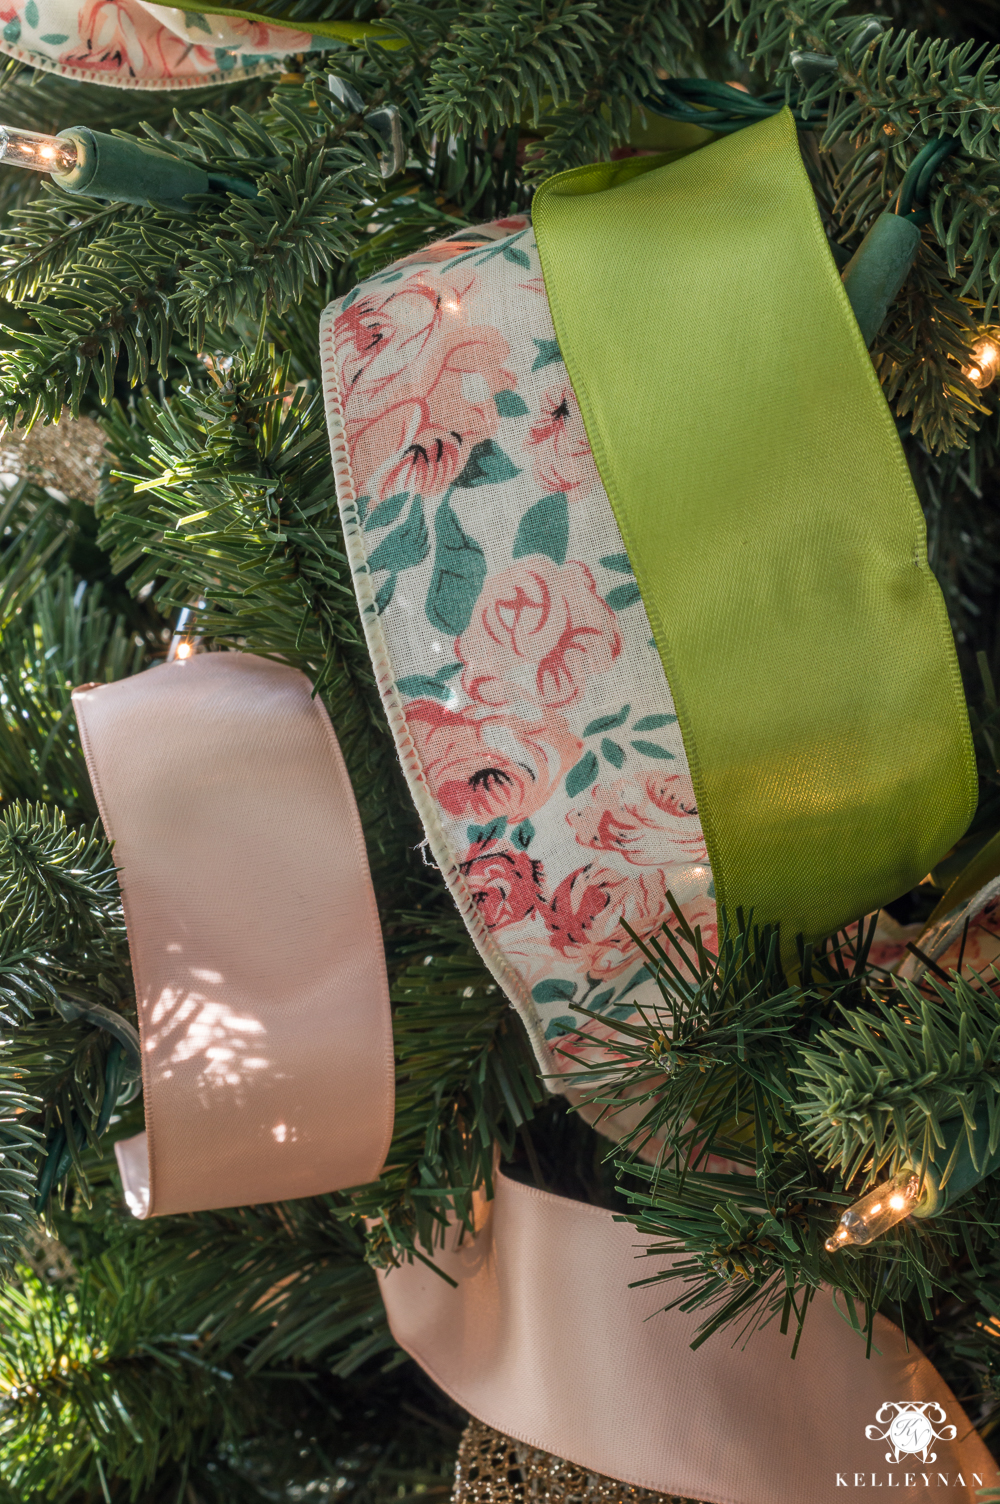
So, once you have your arsenal of Christmas tree ribbon, determine which ribbon you want to be most present. I used a 2.5″ mesh ribbon as my base on this tree. Cut strips that are around 3′ but don't cut them all at once. Depending on the size of your tufts and how deep you go in the tree, you may want to modify the size. Keep in mind, using ribbon on your Christmas tree makes it easier to change the look of your tree each year. If you have a base of white/metallic ornaments, you can simply change your ribbon color and it changes the entire color scheme of the tree.
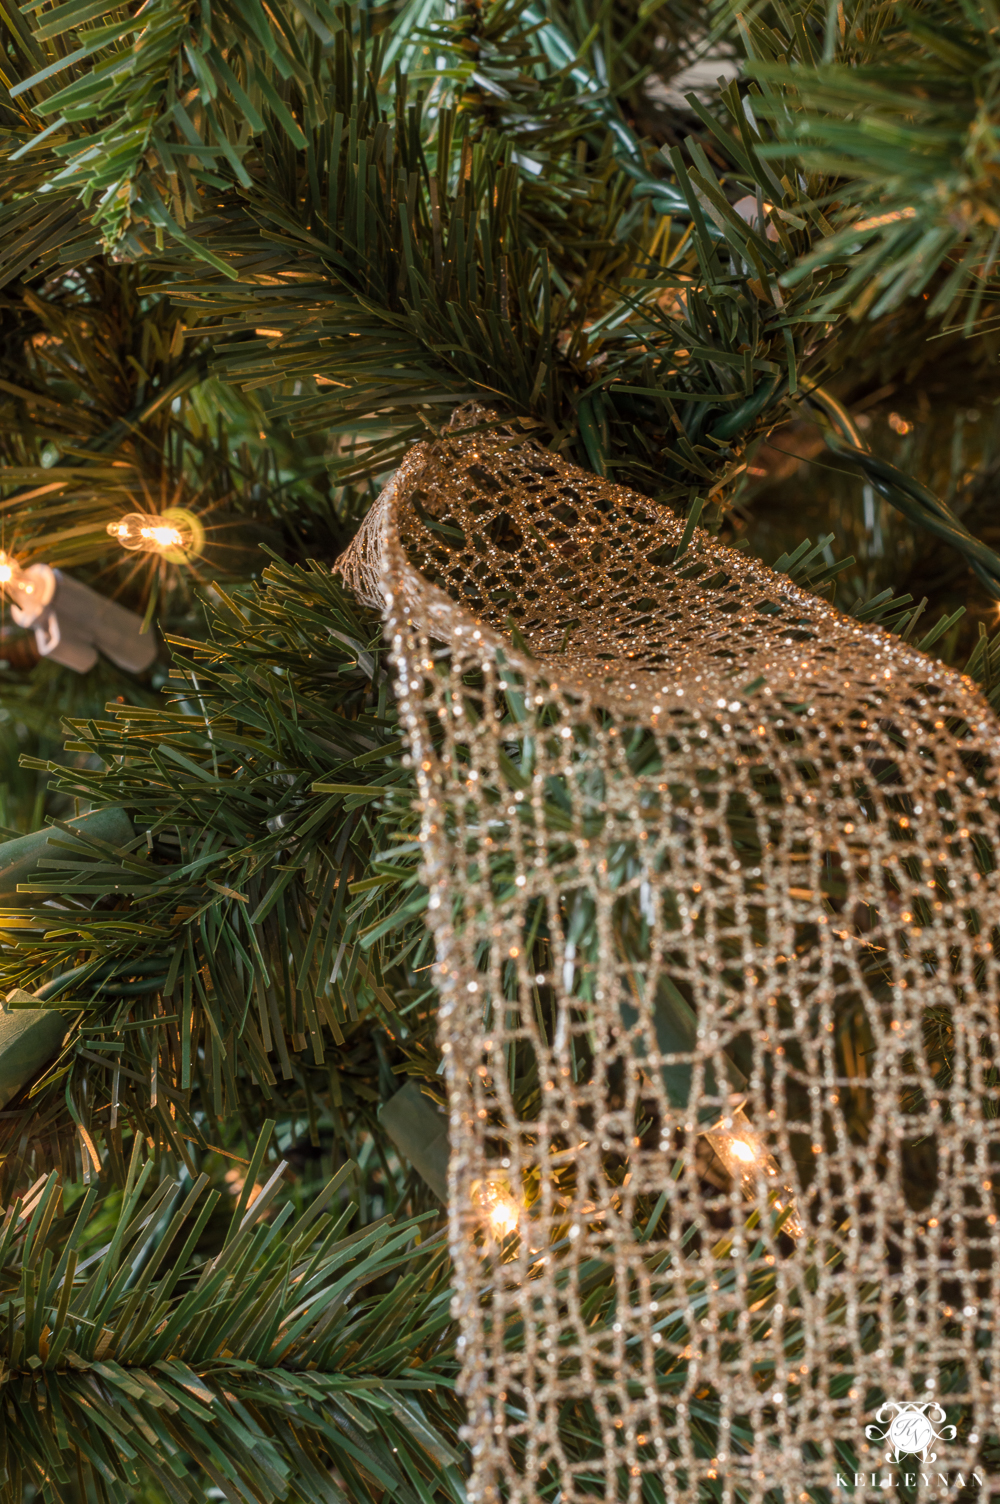
Take the end of the ribbon (I usually start in the middle of the tree), pinch the end together, and stick it in. I use my hands to feel around inside the tree for a good spot for the ribbon to stick. If the outward branches seem to "support" the ribbon, you don't have to worry as much about securing the inside end to an actual branch. Meshy ribbon will usually just stick to the inside needles while more satiny/smooth ribbon may be to be secured a little more by bending an inside branch to pinch the end. Once the tail is secured, billow the ribbon out, kind of at a diagonal and bring the center in to secure the middle of the ribbon inside the tree. This should form one billowed tuft.
A few tips (this will make all the difference) – you don't want the ribbon tuft to be pulled tight against the branches. You don't want to see a taut wrinkle. When you are billowing, try to clear the outside branches into a big loop, but not so much that it sags. Also, when you are creating your loop, kind of push the ribbon upwards (as though you are almost pinching it back to the first secured end) instead of pulling it downwards. You can even turn it slightly sideways and have it "sit" on its side, on a branch.
Once you have secured the middle, take the rest of the ribbon, come back out (depending on the branch position with determine whether you come right back out where you went in, or, whether you bring the tail out a little lower). You want to form one more tuft with the ribbon so repeat how you created the first and then secure the tail just as you secured the other end. Again, if the branches are supportive and the ribbon is meshy/sticky, the inside branches may grab it enough. If not, you may need to slightly bend an inside branch to secure the ribbon. Two tufts from each 3′ strip is the goal. For the second piece, start at another place; I usually always go at a diagonal but mix up the direction. Here is what my first strips look like.
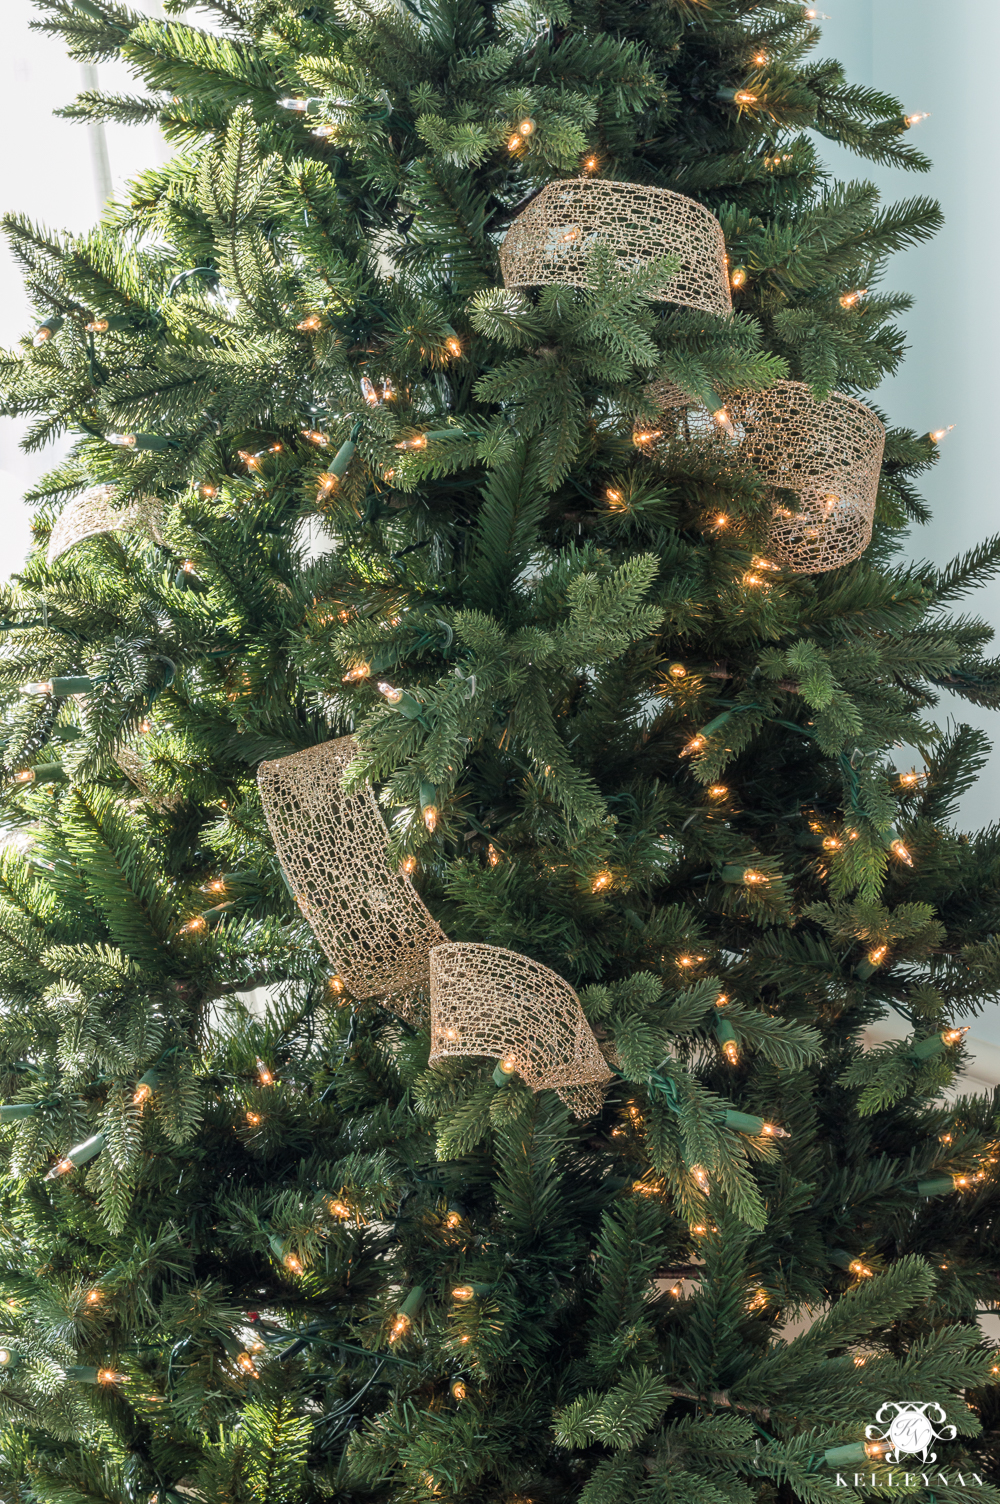
You don't want a huge loop with the second being tiny, but they don't have to be exactly the same size. Repeat all over the tree and don't neglect the top. Full admission, I try to get back around the sides of the tree and if you do have some ribbon in the back, it can help look like it's decorated if there are any gaps. But, it isn't necessary, especially if you are trying to work with less ribbon. When you are fluffing, make sure you fluff the back really well; I continue to fluff as I go along.
For some ribbon — usually extra wide or extra narrow — I will cut the strip shorter (about 1-1.5′) only do one tuft instead of two. If your ribbon is difficult to work with, you can try this technique; see the image below for the result of using single "tufts".
STEP 3: ADD MORE CHRISTMAS TREE RIBBON & REPEAT
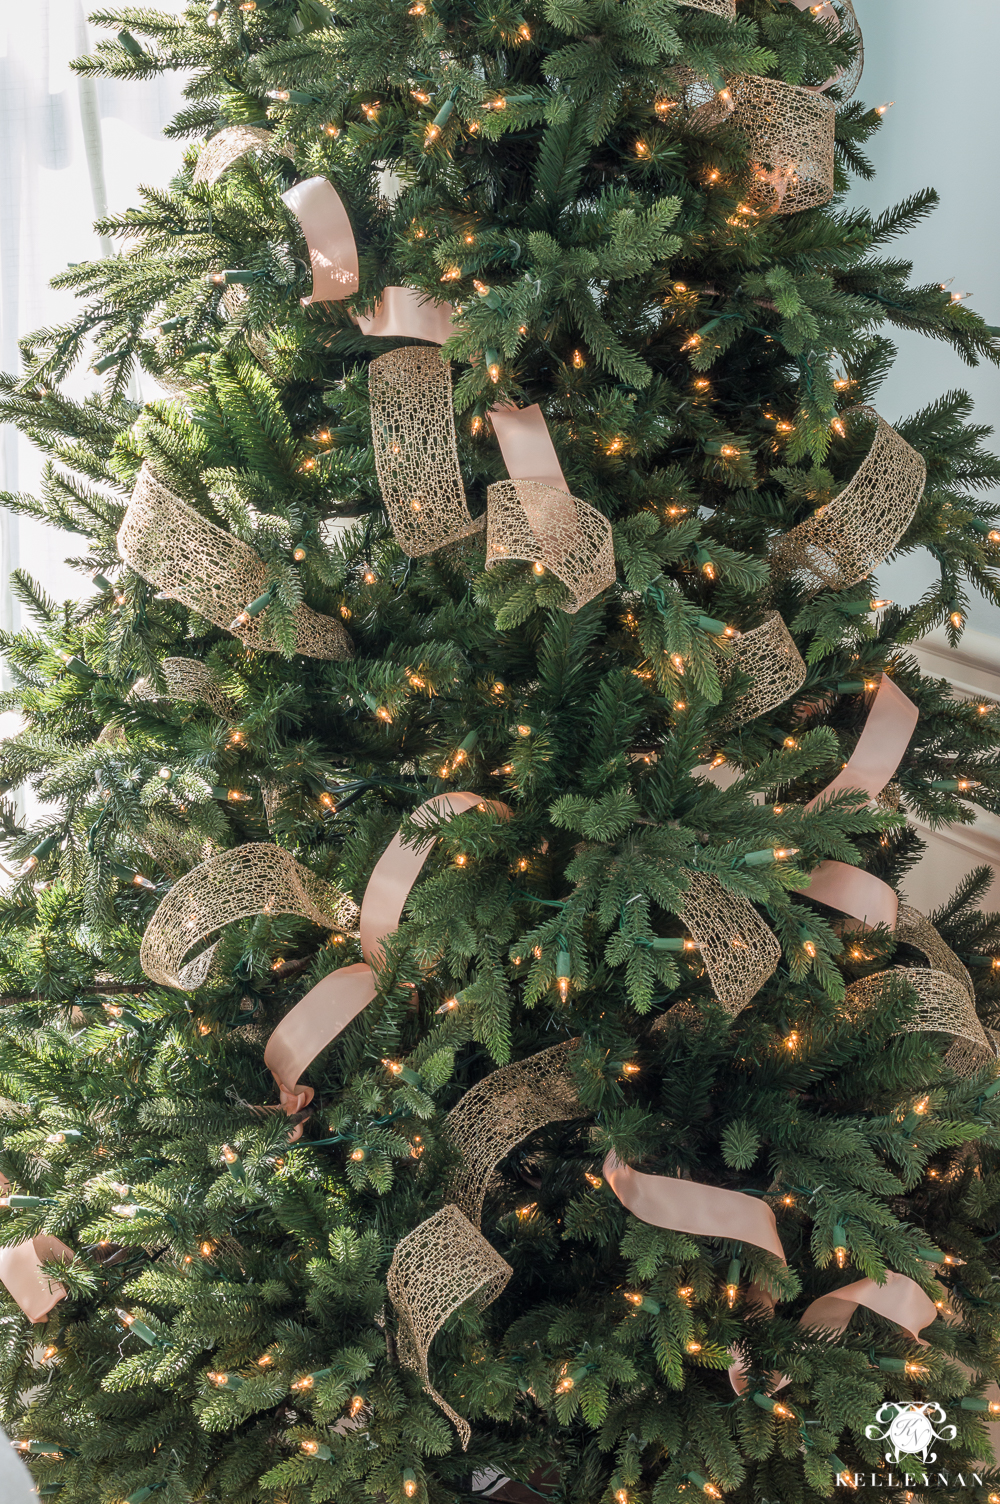
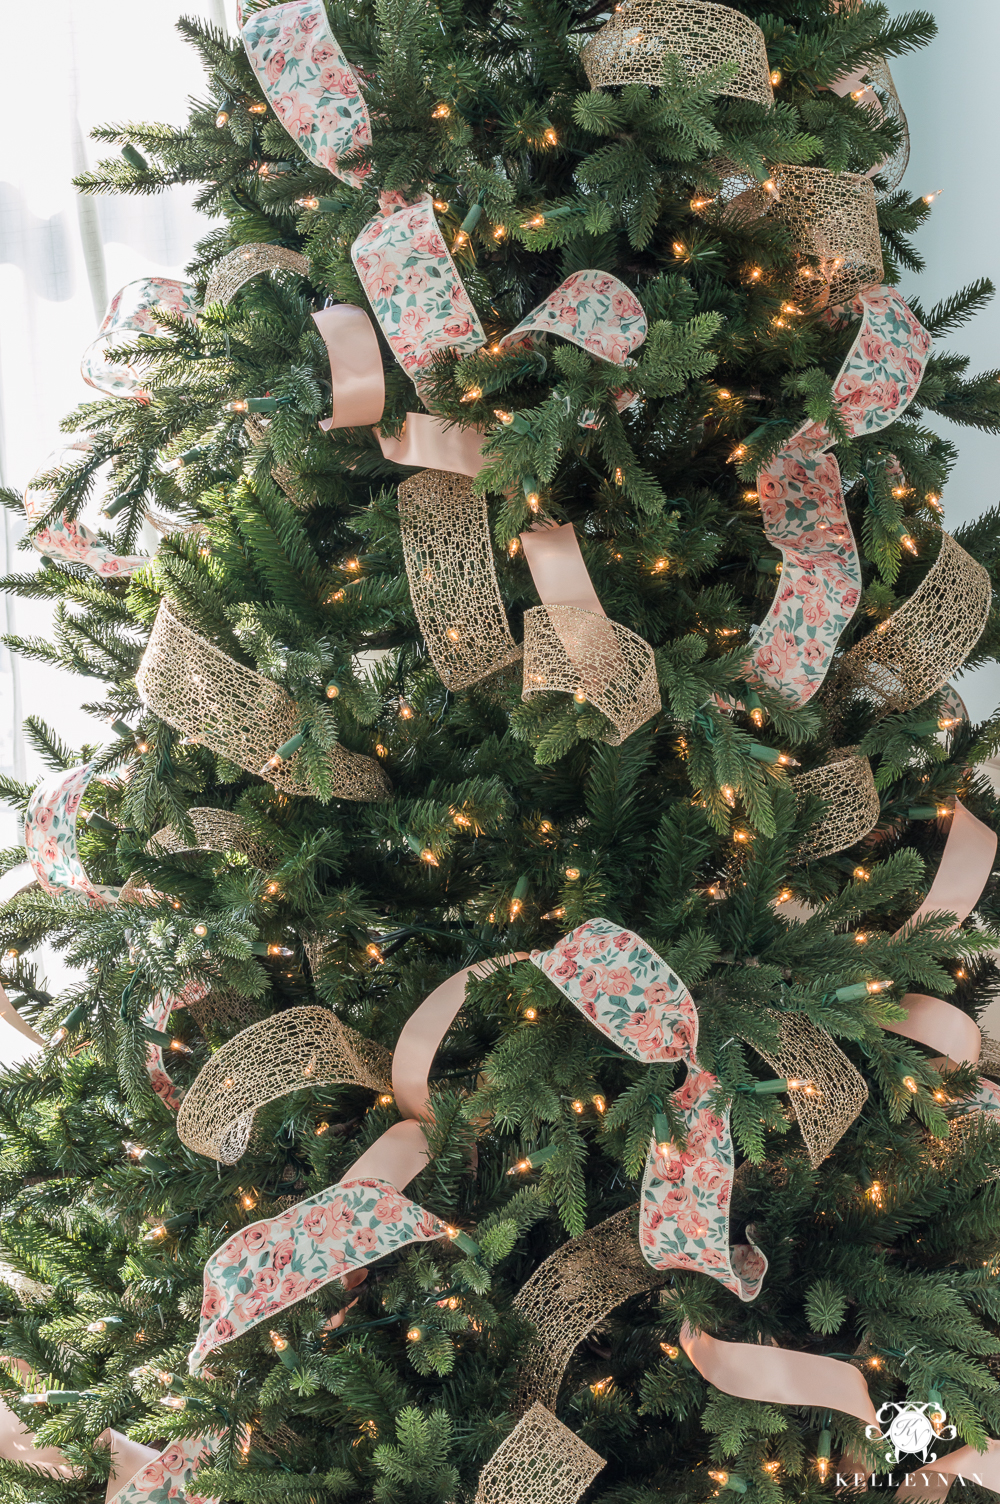
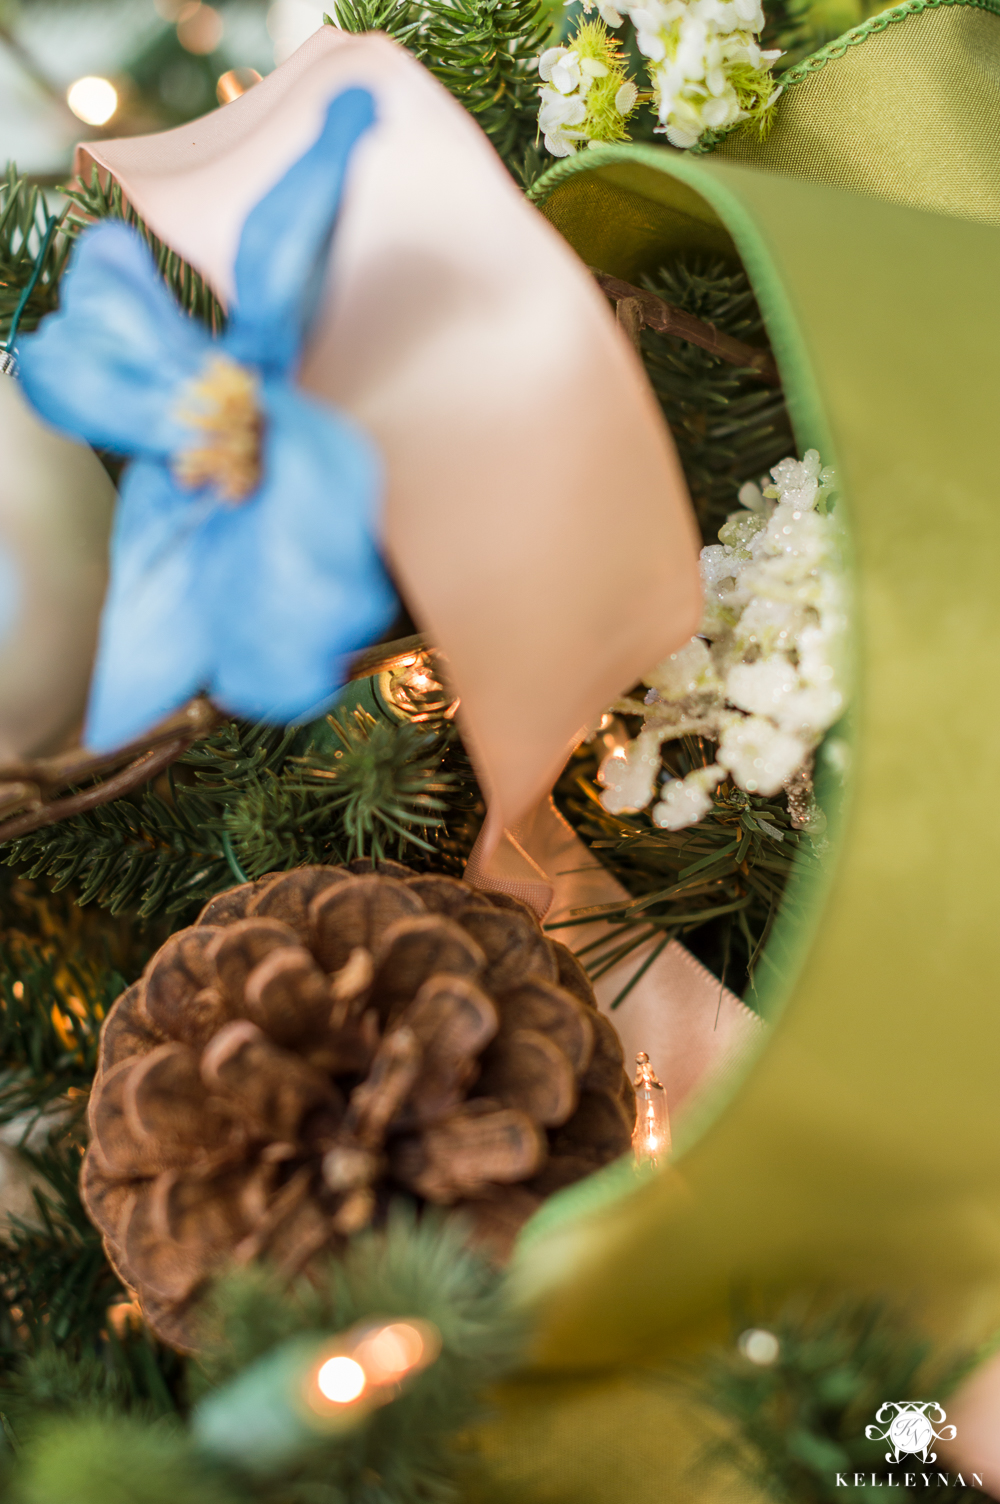
Once I have a pretty consistent and thorough covering of the base Christmas tree ribbon, I will choose another to go in and accent. Don't worry, if you decide you need more of the original ribbon when you finish, you can always add more! As a warning, this is kind of a difficult tree to show as my example because I did a few things out of order and used some ribbon I wouldn't typically recommend. My second ribbon was a thinner, more satiny (but still wired) peach. You can see the wrinkles more easily and it's more difficult to work with. As a rule of thumb, the wider the ribbon, the bigger your loops can be. Most thin ribbon can't support itself as well and will need to have smaller loops (I actually did three tufts here). Start with a test piece first before feeling out your ideal length.
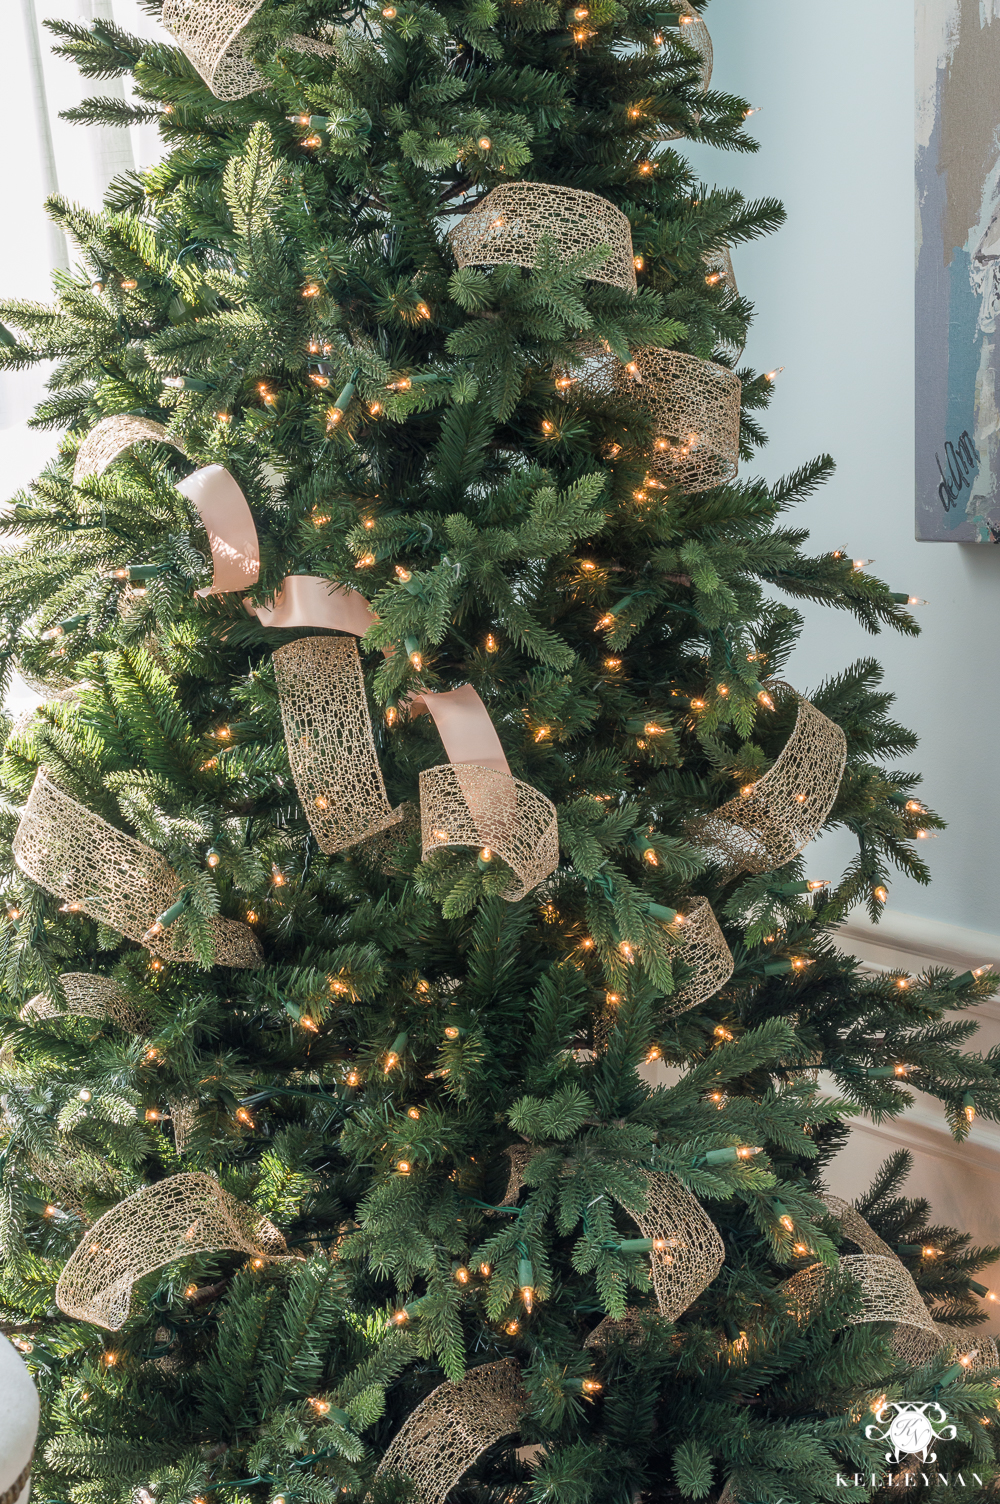
Use the same methods you used in the first round of ribbon, creating billowy (but likely smaller) loops, pushing upwards to create smooth, loose tufts. Don't worry if you can see some tails and places where you pinch on the inside. We'll cover those up later 😉
Repeat with each type of ribbon. One of my favorite things to do (which helps you with a thinner ribbon), is to layer two ribbons on top of each other and treat them as one strip. When they are in place, you can pull one to the side slightly to reveal the underneath. I started with a more vibrant green but ended up removing it – you'll see why a little further down.
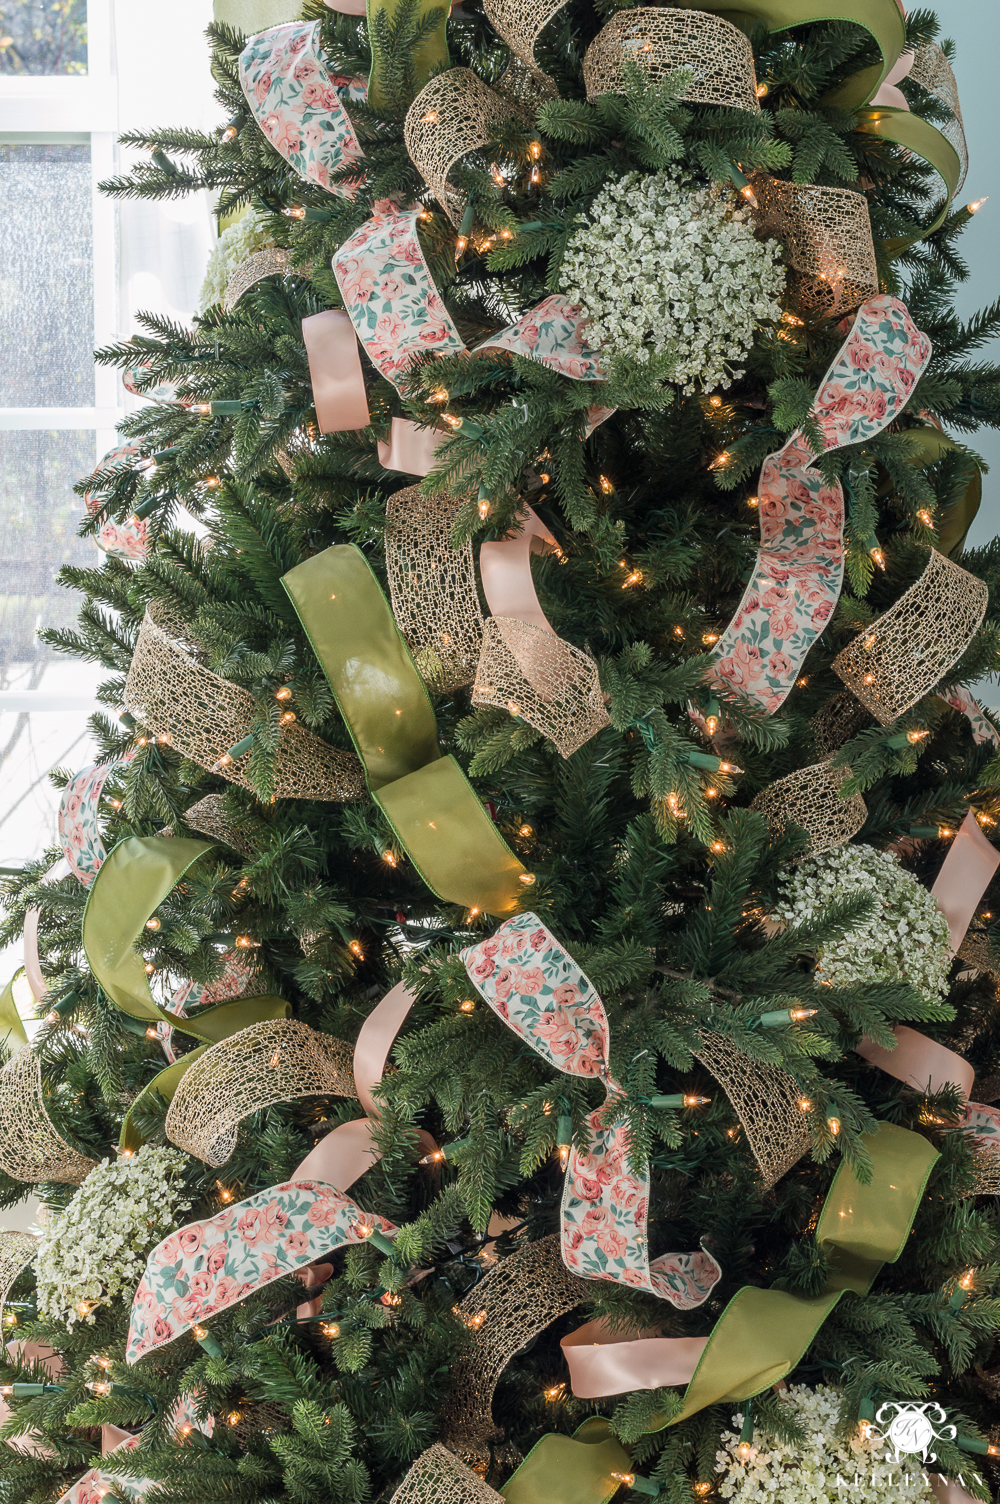
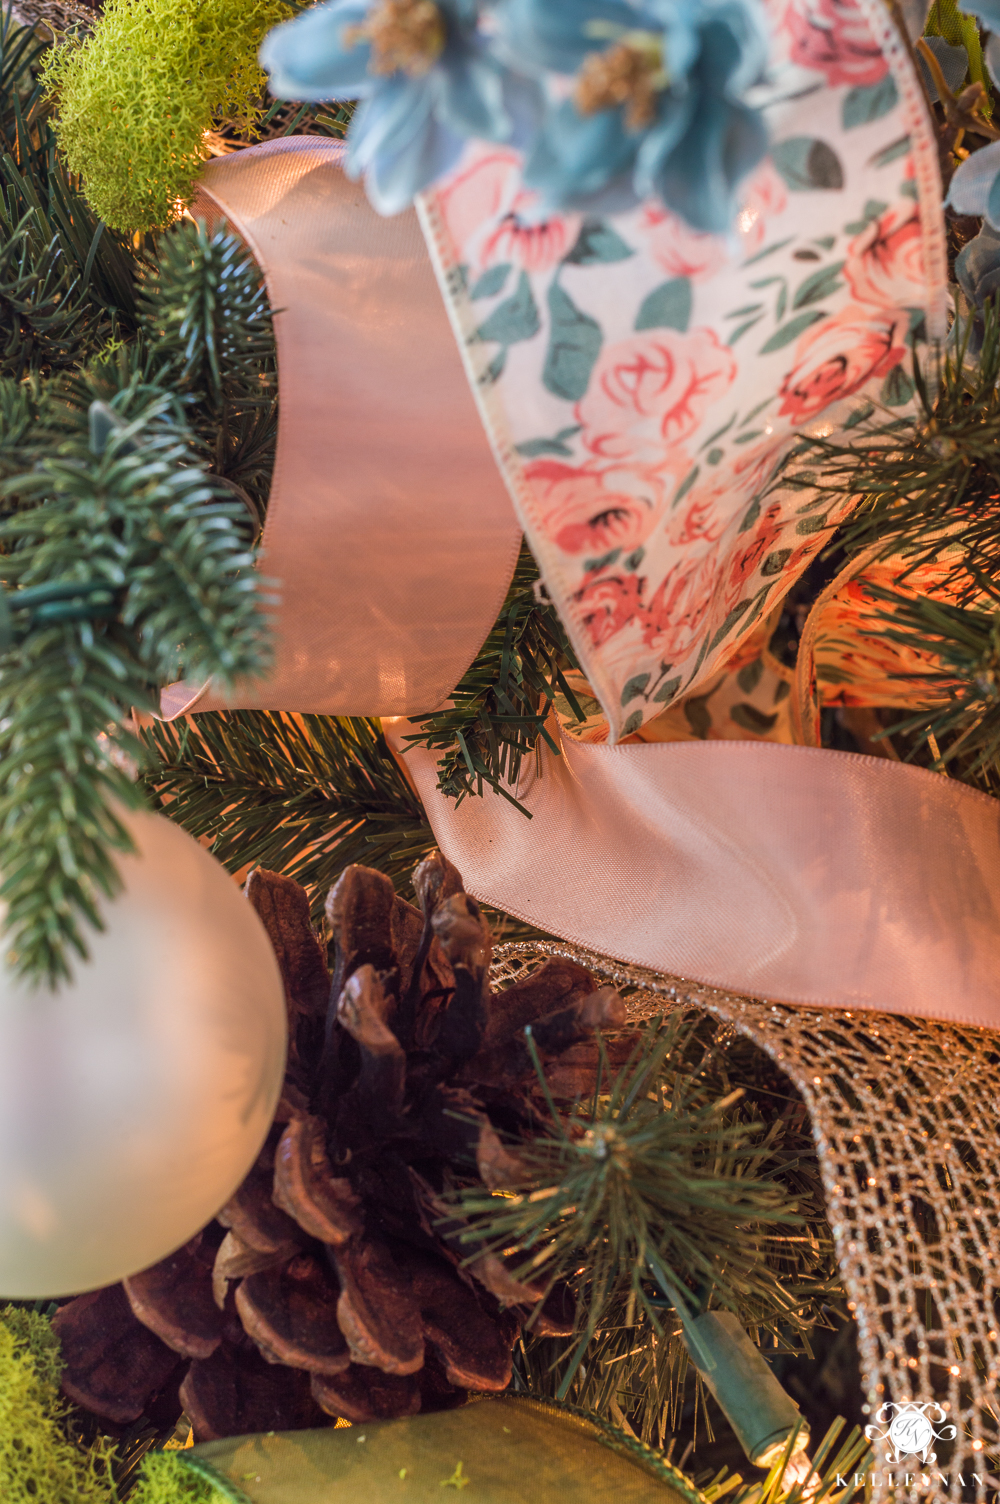
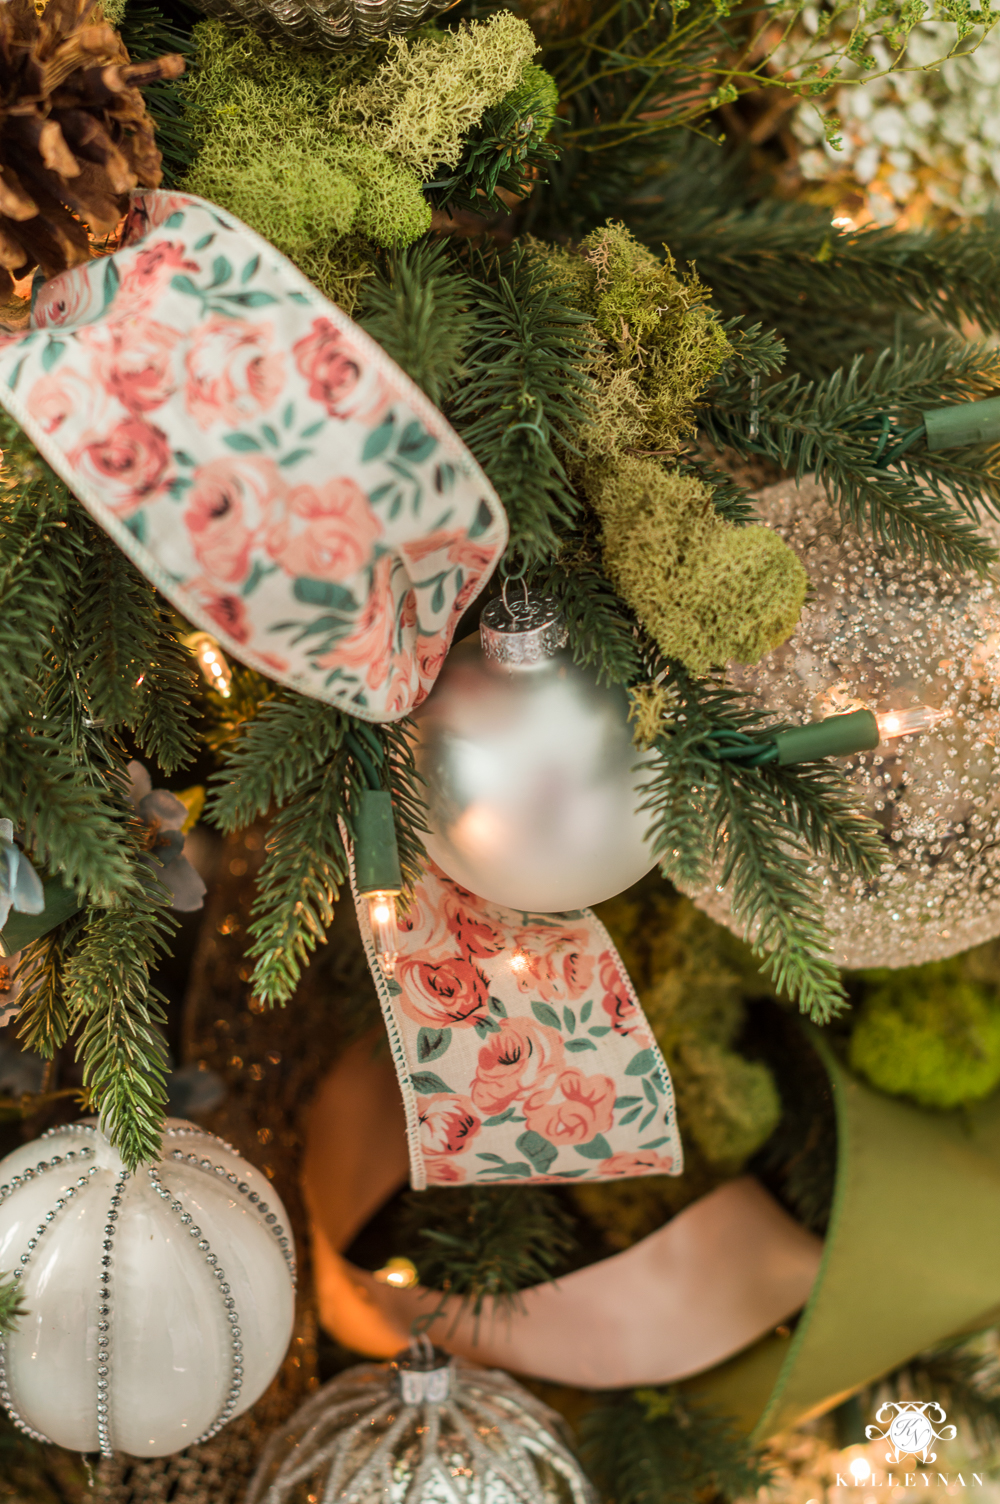
If I have a more busy/patterned ribbon, I add that last and in smaller quantities. I like it to be a little more subtle and usually, the patterned ribbon is fabric, in the regular ribbon section, and is more expensive than regular Christmas tree ribbon for just a few yards. The spools are usually much shorter too. I believe I used three spools of 4 yards each of the floral ribbon. You may notice that some of my floral fabric loops aren't as deep. If you have to pinch it in between the surface branches, we can cover that up, too. Just try to go deeper where you can.
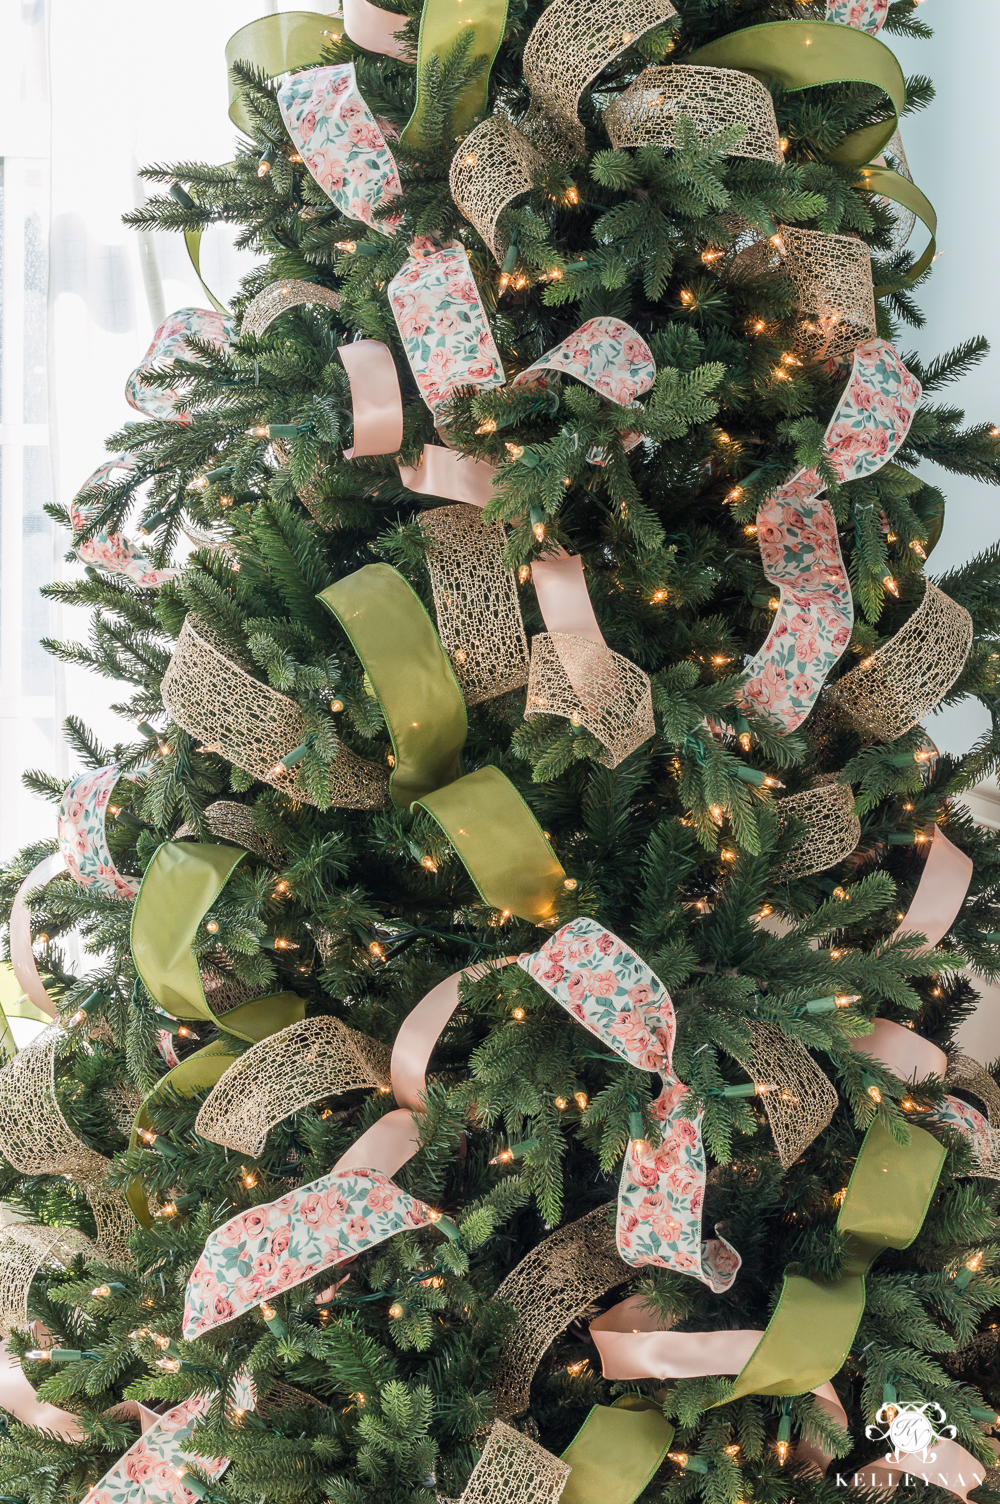
Lastly, I added a thick green ribbon, surveyed the tree, and ultimately added a few more pieces of the original gold. I used four types of ribbon total — by no means do you have to use four types, but at least two will keep things interesting.
STEP 4: BRING IN THE BIGGEST EMBELLISHMENTS
After the ribbon is secured, I add the next largest series of items. For you, it may be large ornaments but on this tree, I had huge floral stems that I incorporated first. Another tip- don't feel like you are only allowed to select from the Christmas section/picks. I hit up the floral aisles to find coordinating stems. There are some beautiful finds in the fall sections that can be upwards of 80% off.
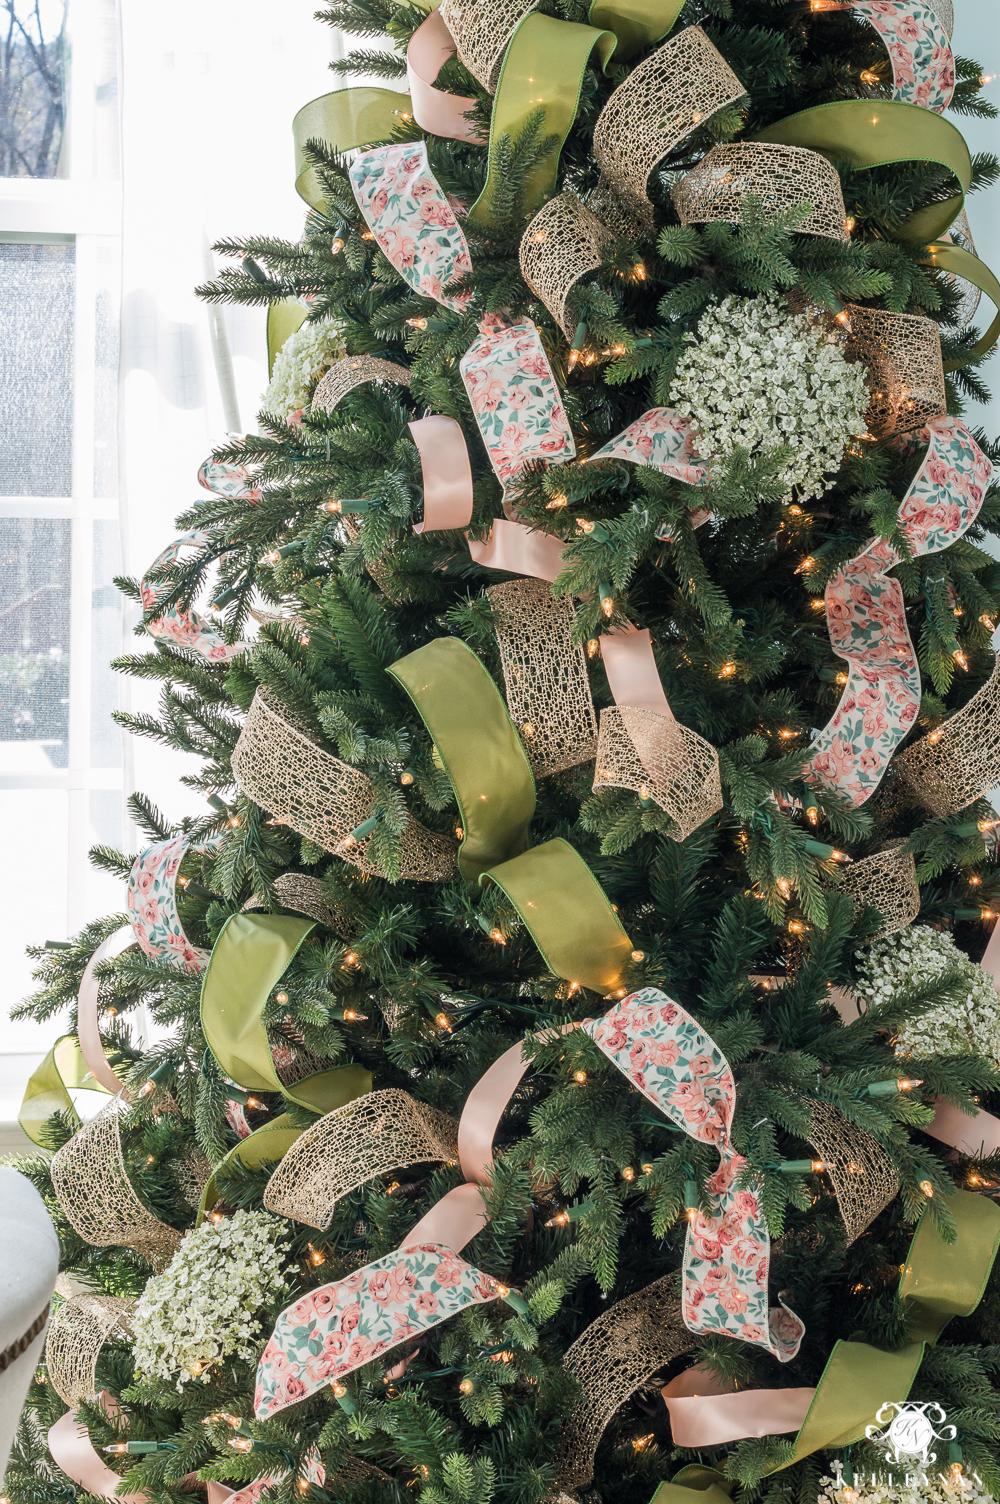
If the stem is too long, you can cut it to be a bit shorter. I bury the big items and nestle them in the branches, closer to the tree base. I like to fill in open spaces but also, don't be scared to cover a little ribbon. You may need to adjust some ribbon tufts as you incorporate your big pieces. You can also use a couple different techniques; I use both in this tree. You can cluster a few like items together for an impact (think three red balls together all over), or, spread everything out evenly. I spread the snowball blooms out evenly.
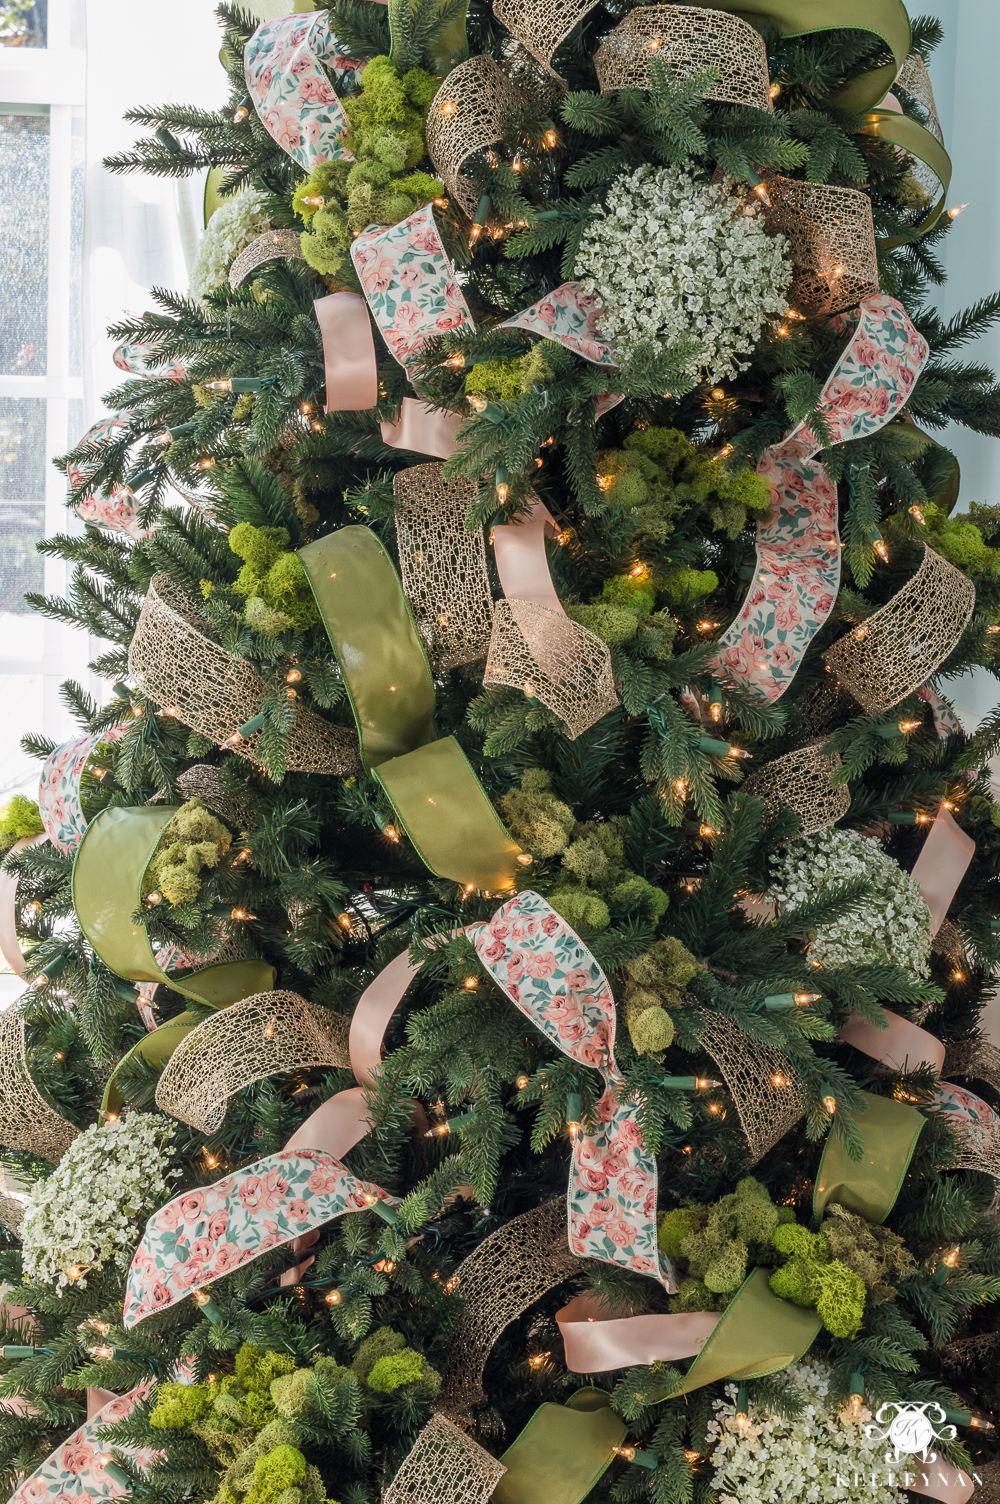
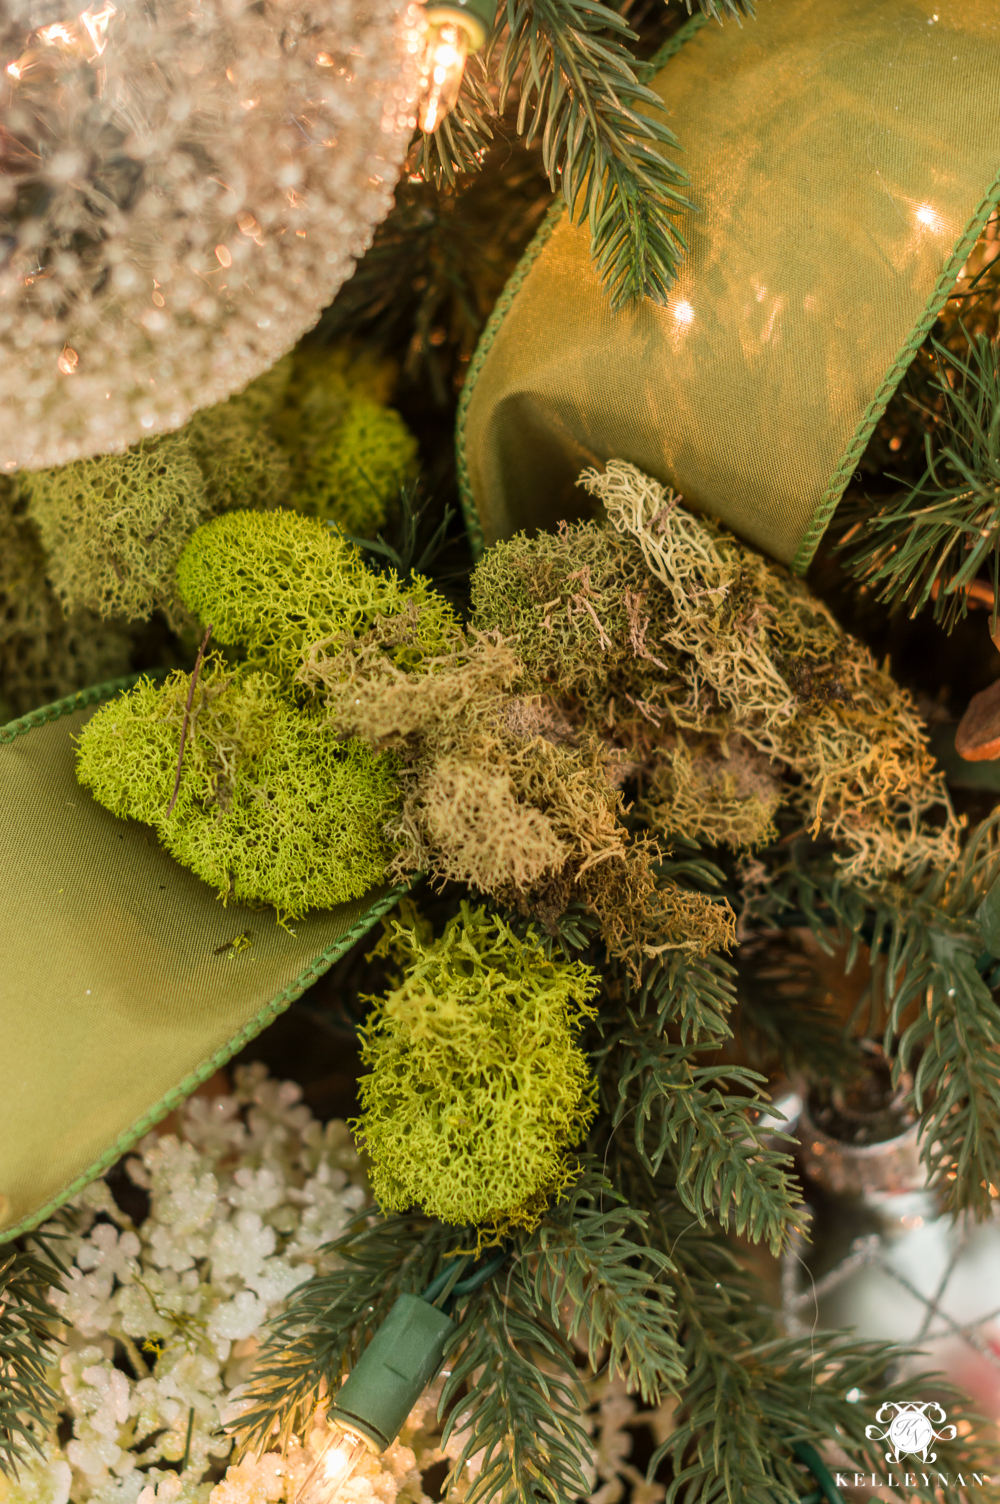
STEP 5: ADD FILLER
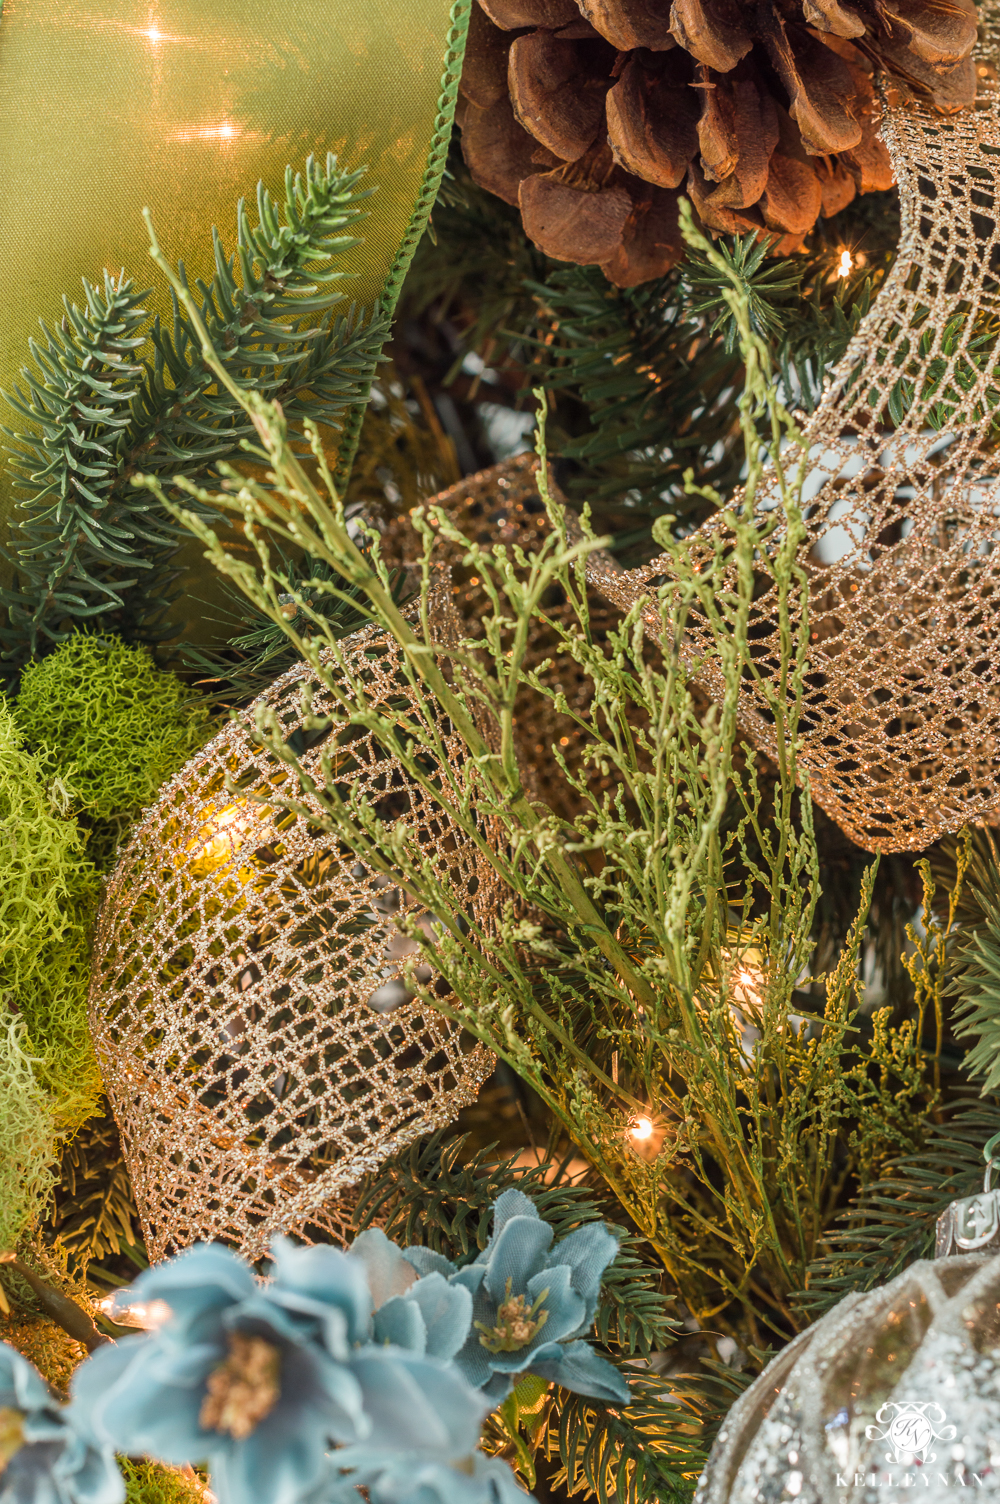
I said this was a unique tree, right? My next step was to add some moss on the branches — fitting for a meadow-themed tree. Some, I molded to branches, and some, I covered more shallow ribbon loops.
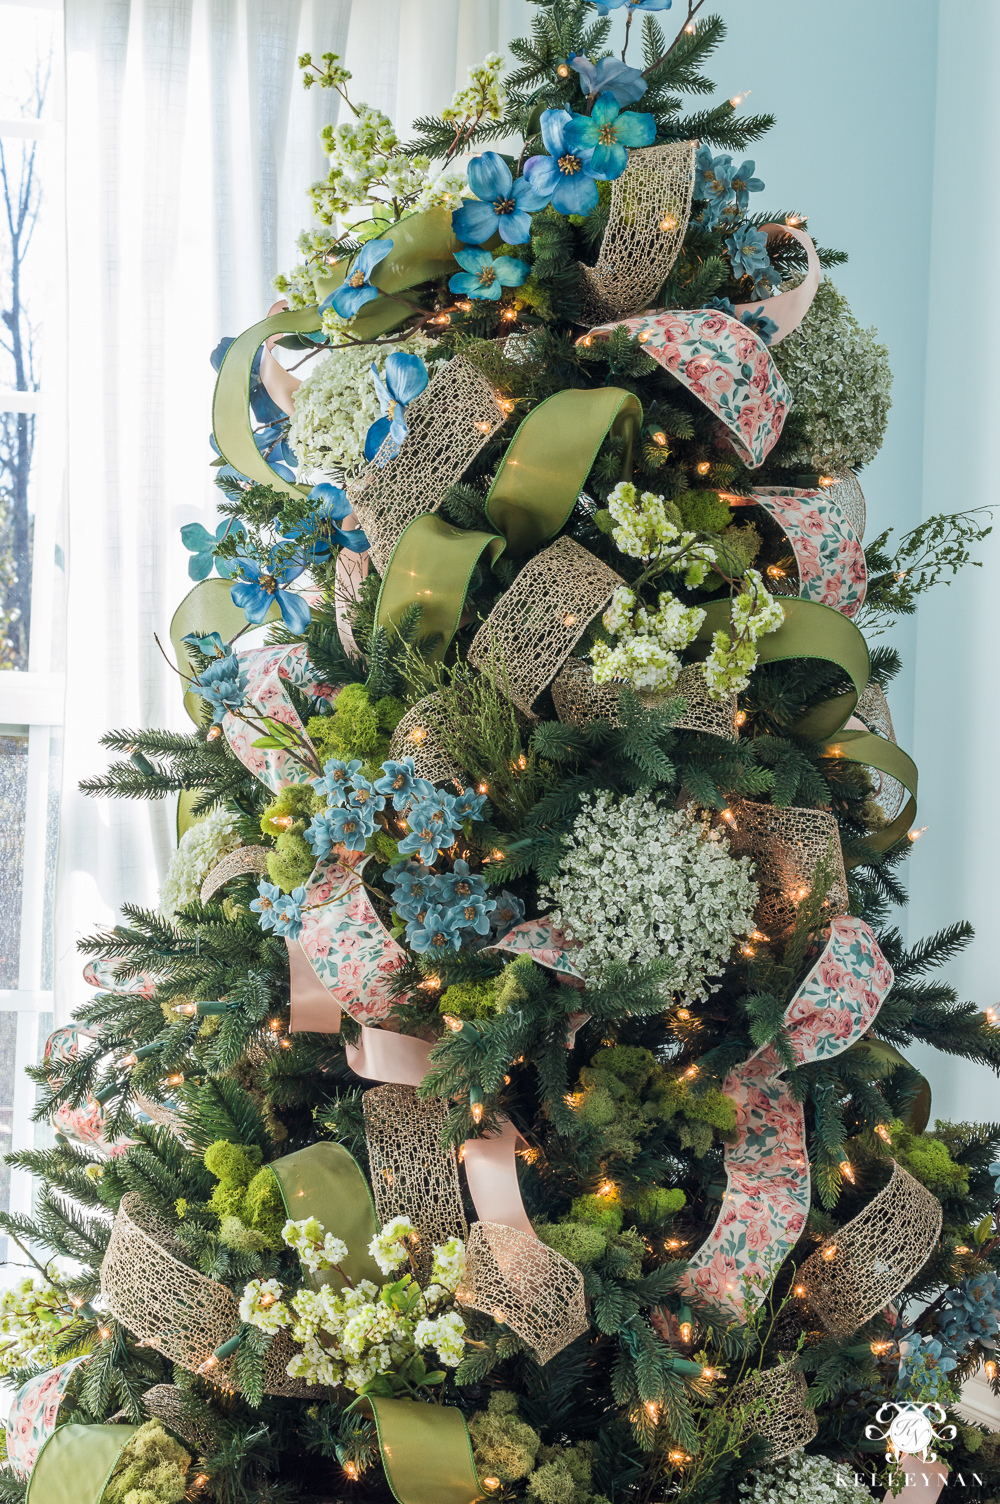
STEP 6: INCORPORATE A STATEMENT
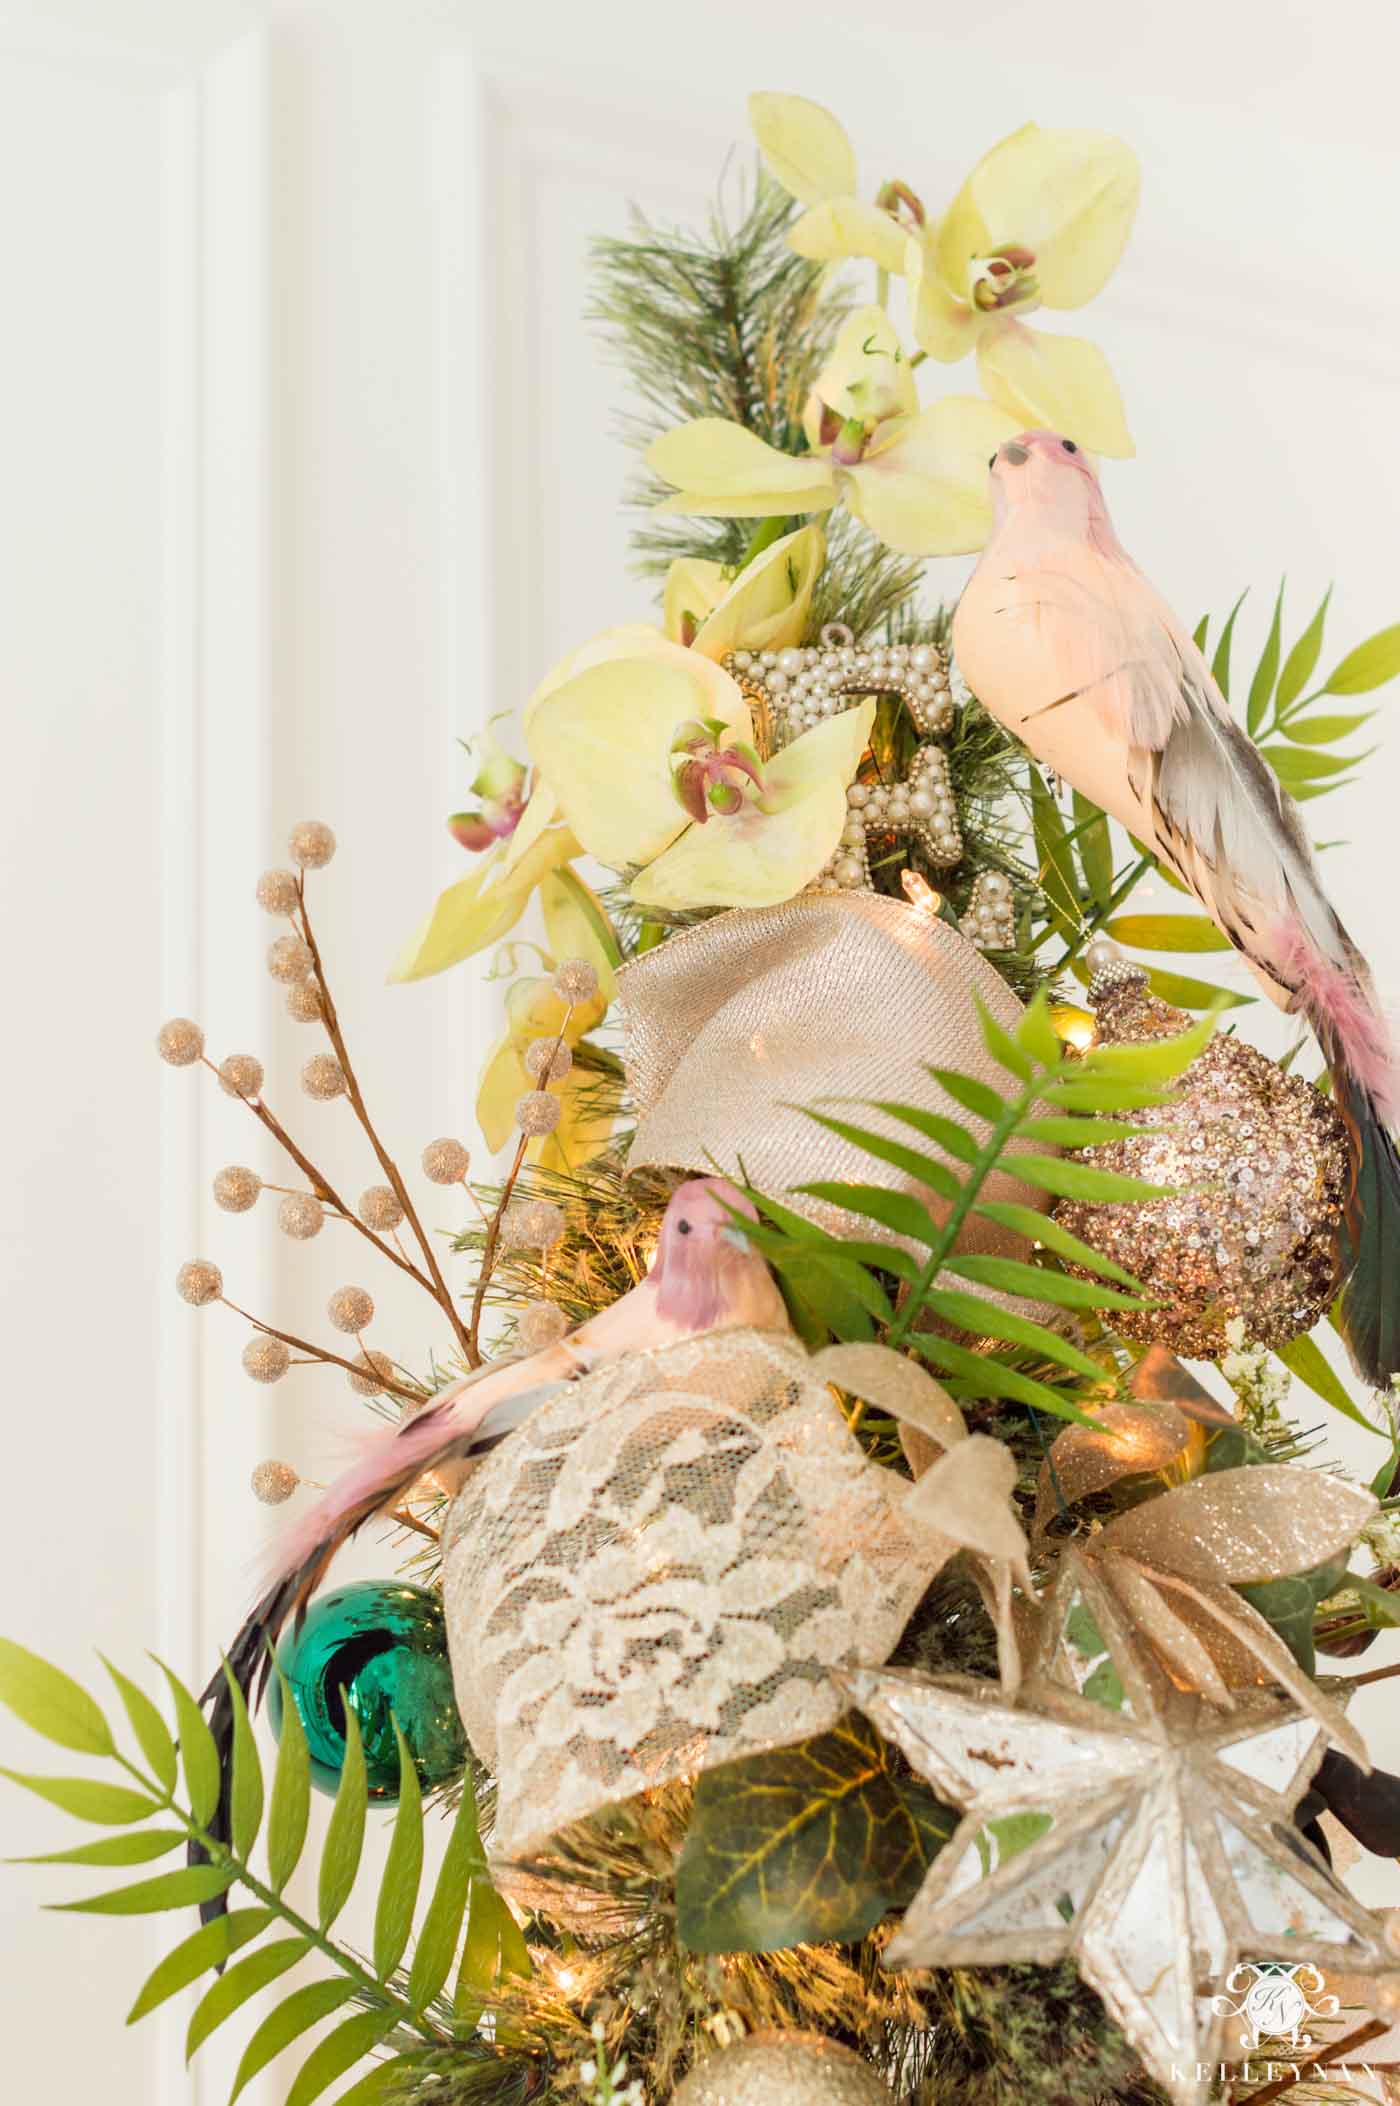
Before the statement up top, I actually stuck in other branches since they were on the larger side. Manipulate the flower branches (don't just leave them as a straight cluster). I spread most of mine out (the smaller blue blooms were scored as fall for .90/a stem. I usually let the picks/stems that are more "stem-y" — with more movement — stick out more from the tree. This helps give a more natural, organic, whimsical feel. I saved a couple of bigger blue floral stems for the topper. Instead of spreading them out evenly like the others, I concentrated them at the top of the tree and kind of came down from there, winding them in a diagonal to create that focal statement. You can also create something similar with a series of picks, branches, or berries.
Here are a few more examples of a statement topper that winds and thins out. This "southern grace" Christmas tree had white magnolia blossoms and gold leaves that gradually thinned out…
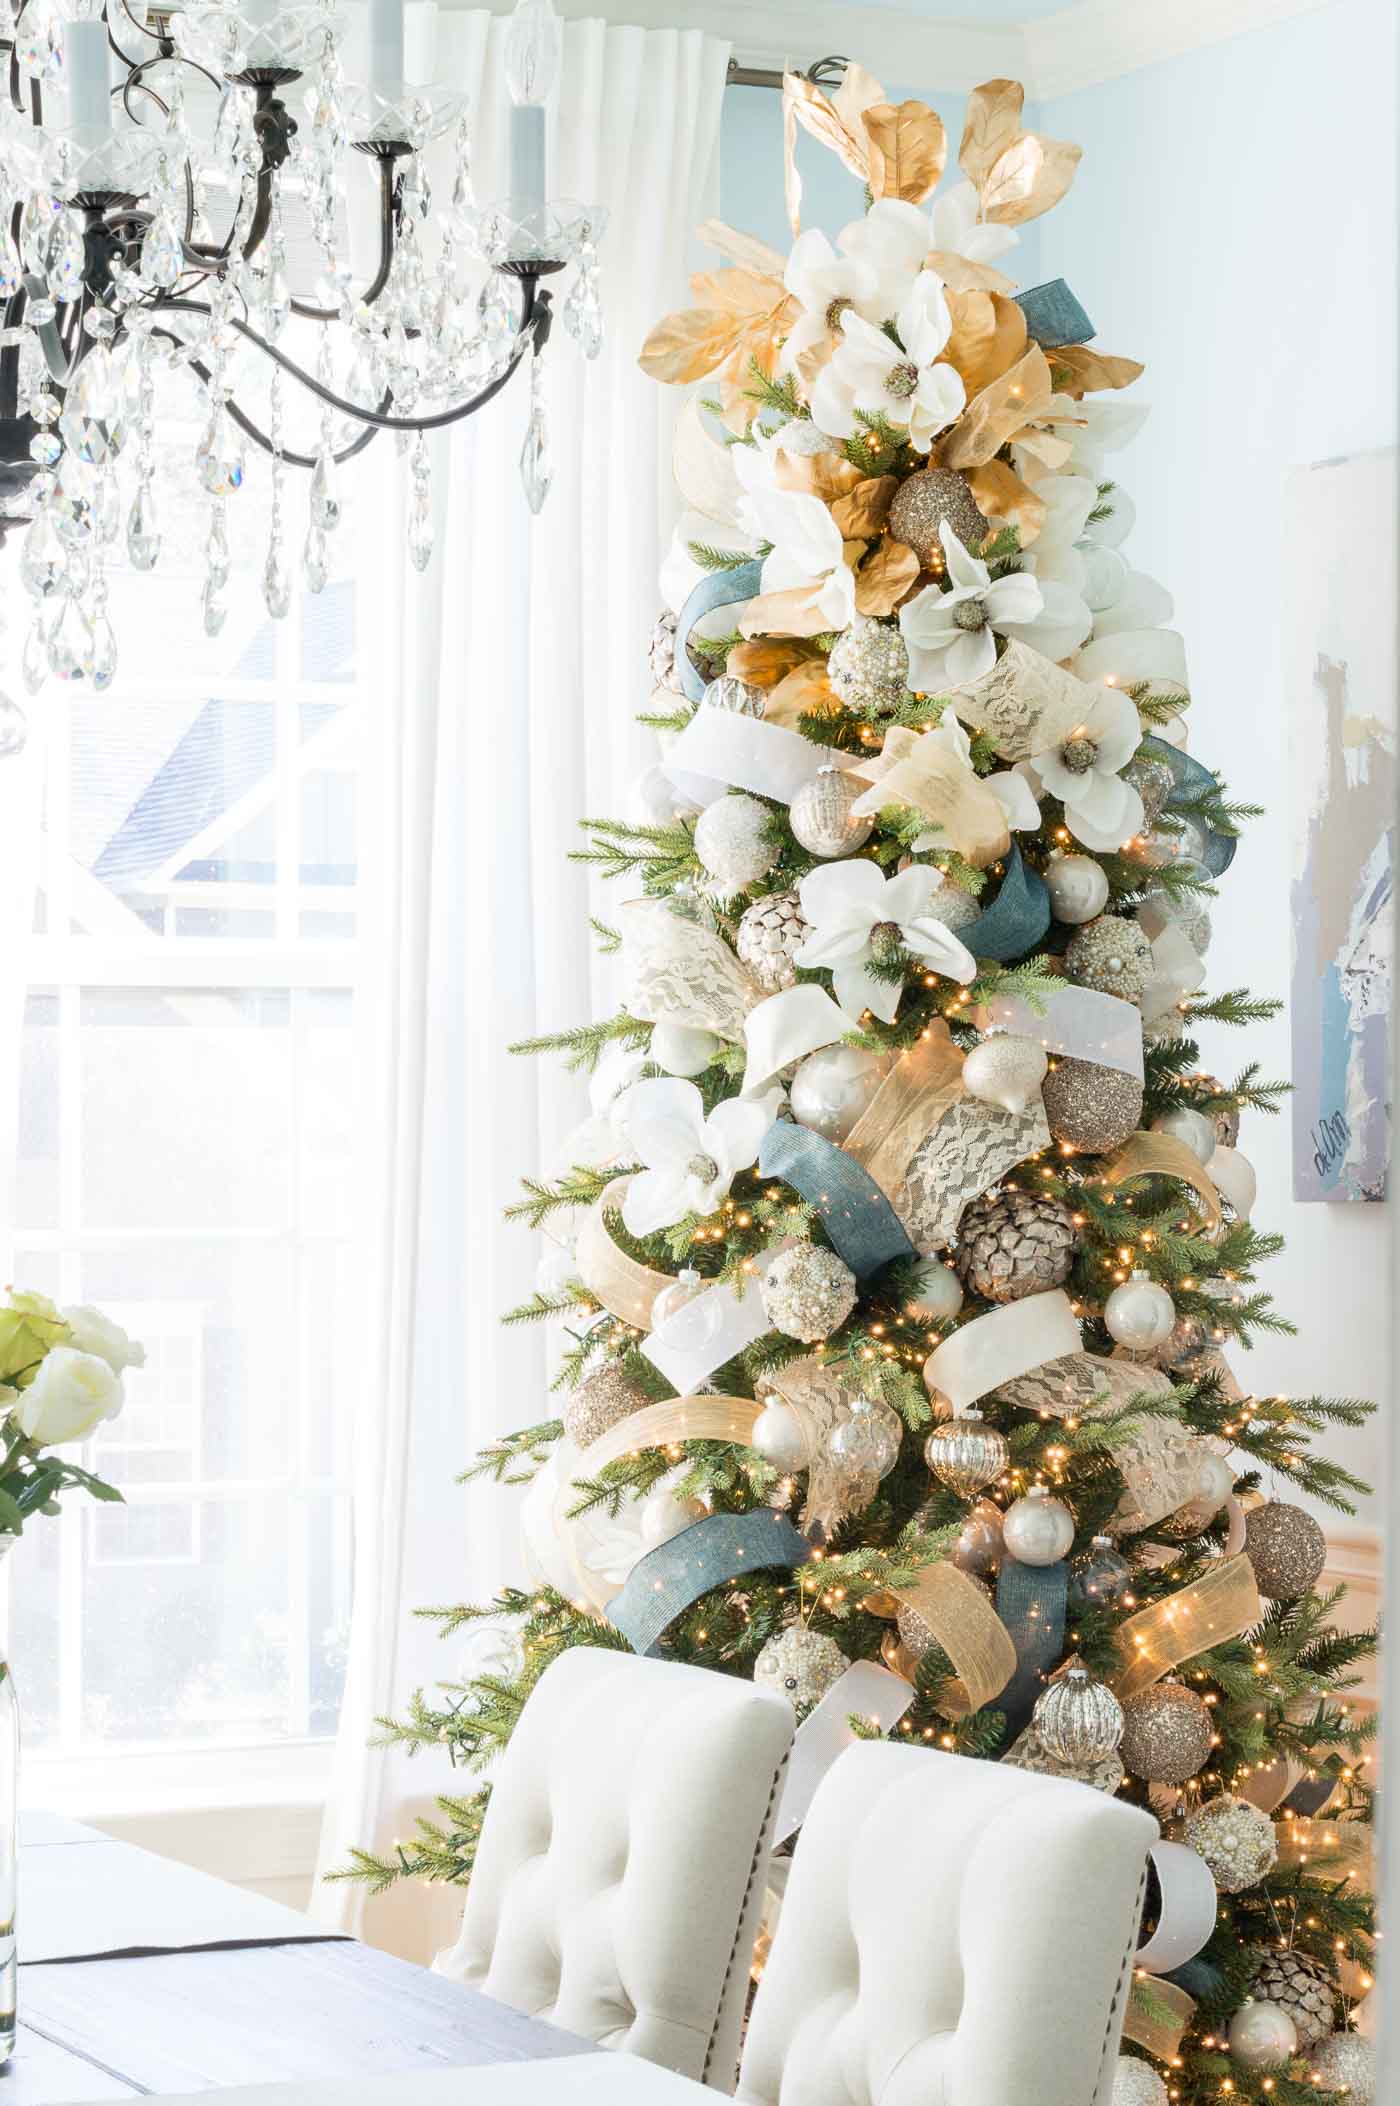
See more of this tree in my 2018 Christmas Home Tour
And this orchid — on one of my daughter's nursery Christmas trees — was easy to position down at a diagonal.
See more of this Christmas tree in my 2019 Fairyland Christmas Nursery Reveal
Ok, back to the tutorial! See how full it's looking? And we haven't even added the actual ornaments! At this point, I went ahead and added the ornaments. No rhyme or reason, just random and all over. Again, if the ornaments are your biggest statement, you may not have huge floral stems and ornaments may immediately follow the ribbon portion. I nestle heavier ornaments inside on more sturdy limbs and lighter ornaments further out on smaller limbs. Some people only use big ornaments at the bottom and smaller on top but I like to mix all over. I also have more special, intricate ornaments that I mix with regular filler balls.
STEP 7: ADD ELEMENTS TO HIDE THE CHRISTMAS TREE RIBBON TRICKS
After the bigger elements, and then ornaments, I add in smaller picks — like berry sprigs (or in this case, dried stuff that I don't really know what it is haha) — to start hiding more of the ribbon security areas.
I also wedged pinecones in, perfect for the meadow tree (or most any Christmas tree 😉 ). These were really easy to use- even easier than actual hanging ornaments. They are a really inexpensive addition but as a caveat, if you use too many, it will take away from the luminance of the tree.
I also use ornaments to help cover those spots. See how everything is disguising the ribbon tucks?
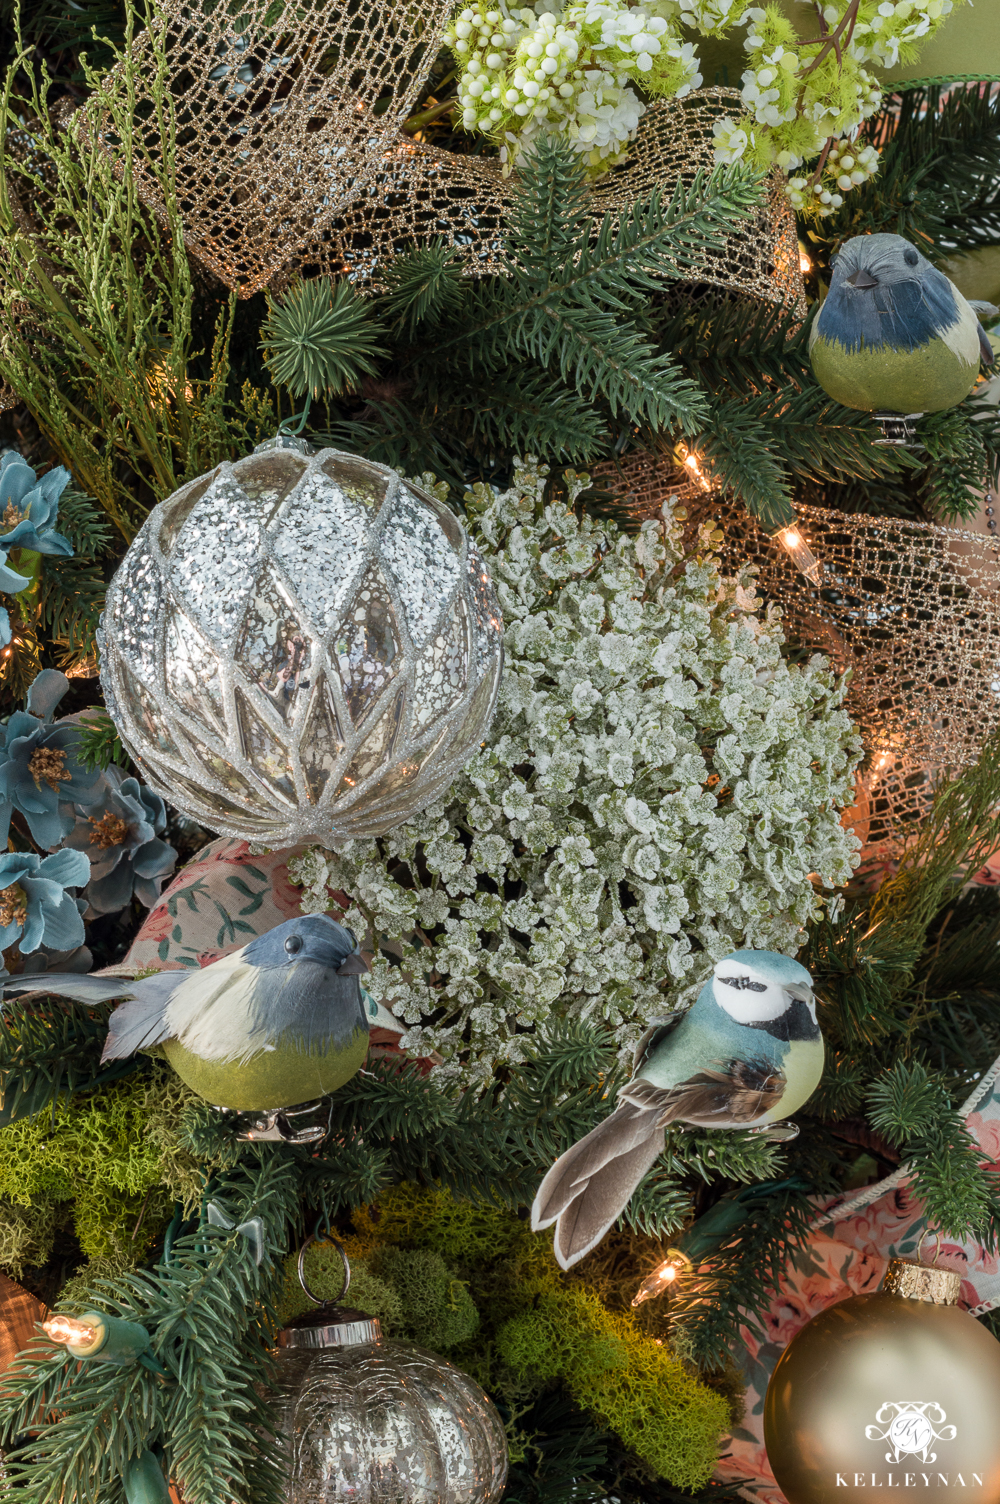
STEP 8: ADD A SPECIAL "MOMENT"
On this tree, once I finished everything, I added my sweet, subtle little cherry on top. I purchased a few birds and clustered them together as a little family in the upper 1/3 of the tree. I didn't put them all over – just three sitting together. Dave loves "little things", especially tiny animal things so this is his favorite part. 😉 And, he absolutely, specifically said not to share that haha
STEP 9: ADMIRE YOUR WORK
I step back a few times during each step to see which area needs more balance and when I think I'm done, I step back one final time to see if anything needs adding, adjusting, or even sometimes editing down. (Let's be honest, in my trees, I typically go by more is more so that doesn't really happen very often haha). There are gorgeous, simple, tasteful trees that are beautiful but I think my Christmas trees are one time when I can just keep adding and adding, and the more overpowering it is, the more whimsical and magical it is. If you can't see the actual tree, totally fine! That just means you don't have to have as high quality of a tree 😉

Christmas Tree Mesh Ribbon Decorating
Source: https://kelleynan.com/how-to-decorate-a-christmas-tree-with-ribbon/
Posted by: mcconnellusithed.blogspot.com
0 Response to "Christmas Tree Mesh Ribbon Decorating"
Post a Comment